Hello! I’m K.T., Operations Specialist here at Maximum Fun. It’s nice to meet you.
So you’re joining or upgrading to $10 per month or above. First of all, thanks! You’re directly supporting one or more fantastic podcasts that wouldn’t exist without you and people like you, and you’re indirectly keeping this dog in fancy probiotic treats (by paying my salary).
You’ve done the hard part: picking which one of the 35 incredible patches you’d like for your thank-you gift. Now comes the other hard part…
Whatcha gonna do with that patch?
We’ve got some ideas. But before you get started, you’ll need to pick your favorite way to stick this to that.
- Iron-on! Best for iron-safe fabrics (check the care tag to be sure), the sewing-averse, and folks in a hurry. May not result in the strongest bond, so if you’ll need to launder your project or you’re worried about security, you might want to consider…
- Sewing! The classic. Maximum security and washability but takes some extra effort.
- Glue! Hot glue, E6000, Gorilla–a world of glue awaits, though I’m going to be using exclusively hot glue here. It’s a great multipurpose choice for surfaces that aren’t flat, won’t stand for ironing, or don’t have to go through the washer. Magnets, phone cases, notebooks, koozies… A person with determination and a hot glue gun can put a patch on just about anything that won’t run away.
Tutorials! Want some? Of course you do!
- Patch-Sewing for the Nervous and/or Impatient
- MaxFun Messenger Bag (iron-on)
- Mini Pennants (glue)
- Hat (glue)
- Magnet (glue)
- No-Sew Wall Hanging (iron and optional glue, but you can sew if you like; I can not stop you and would not dream of trying)
Patch-Sewing for the Nervous and/or Impatient
Not gonna lie: hand-sewing can be intimidating. But sewing on a patch is the perfect introduction: it’s (relatively) quick, (relatively) forgiving, and if you hate it, it’s no trouble to snip the thread, pull the whole thing off, and start over. Could you slide a couple bucks to your local tailor or dry cleaner and have them sew it on for you? Absolutely! But where would be the fun in that?
You can do this. Give it a shot.
You’ll need:
- A patch and something to sew it to
- A sharp, sturdy sewing needle
- Thread
- Scissors
- Iron and ironing board (optional)
- Pins or masking tape (optional)
-
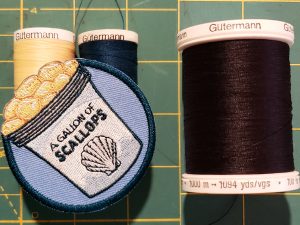
- If you’re the kind of person who has thread that matches the patch border(s) already, you’re probably not the kind of person who’s reading a sewing tutorial—so I’m going to use black thread to demonstrate that you don’t need to worry too much about matching. It will all work out in the end.

-

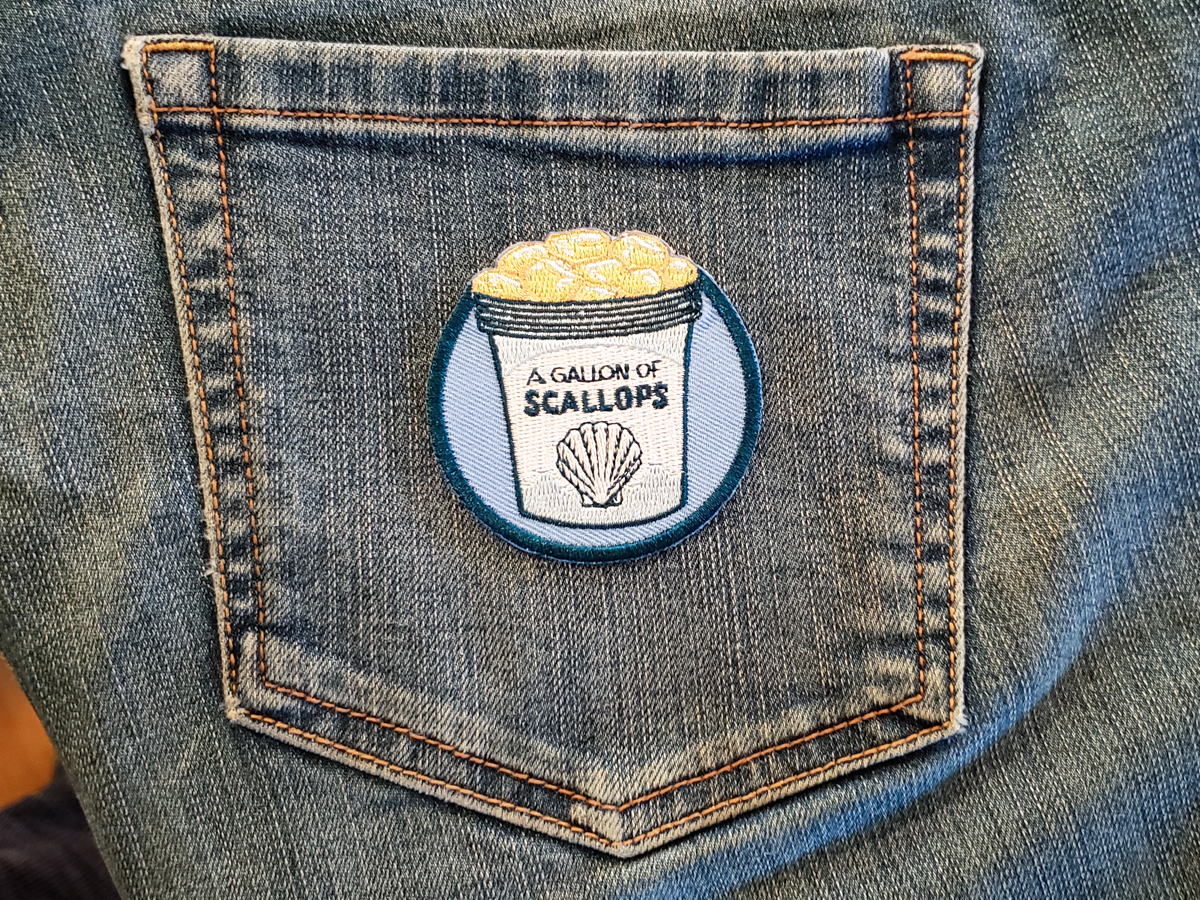
- Pick your spot and make sure you like how it looks there… because once you’ve sewed it on, the last thing you’re going to want to do is take it off and sew it again. You could do worse than to iron the target spot so you don’t sew a wrinkle under your patch, but nobody’s going to make you.
-
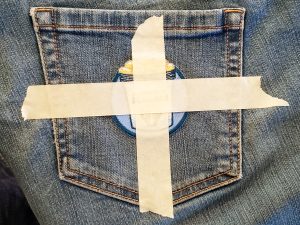
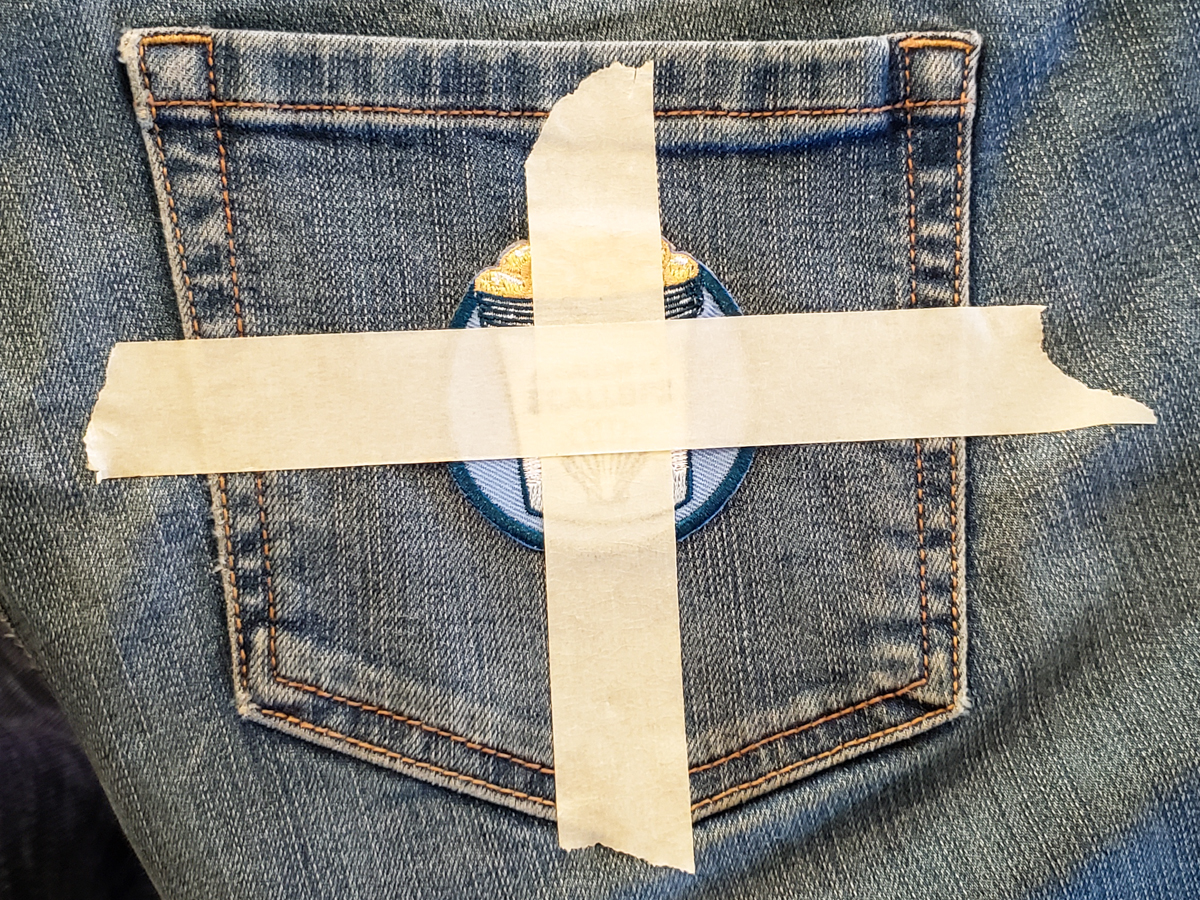
- Once it’s where you want it, make sure it doesn’t move. The best way to do that is to iron it on (check the Messenger Bag tutorial for iron-on instructions). Pins or masking tape will also get the job done, but ironing will be the least annoying and the most secure. If you have the means, I highly recommend it.
-
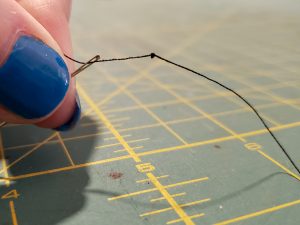
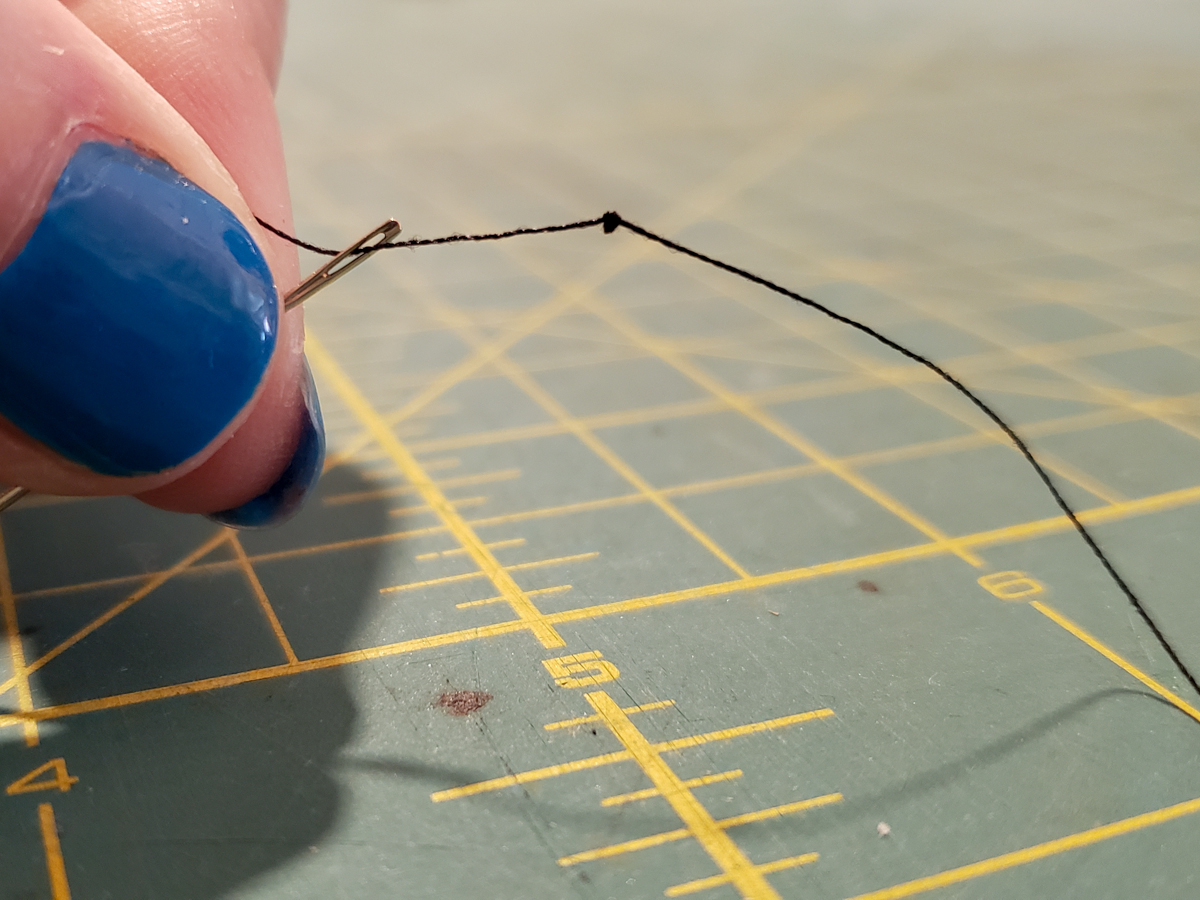
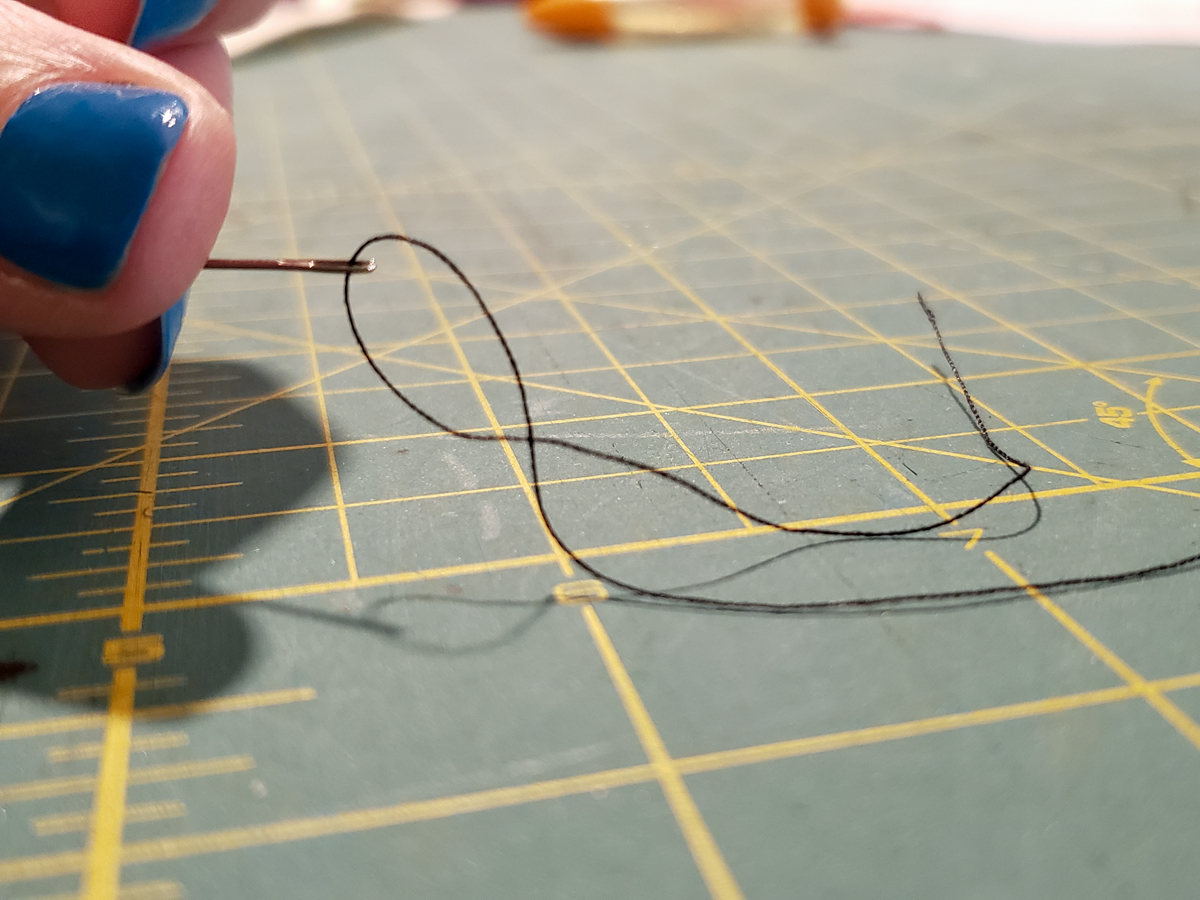
- Cut a couple of feet of thread off your spool and thread the needle. Tie a double knot into one end of the thread. This is your anchor.
-
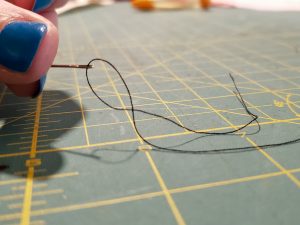
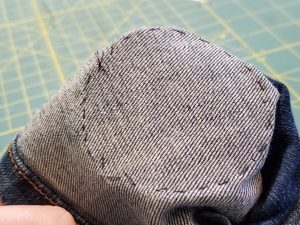
- Pull the thread until all but a couple of inches of thread have passed through the needle. The anchor should be at the end of the thread farthest away from the needle. Time to sew! Start from the back side of the work, also known as the wrong side. If you’re sewing onto a pocket (like I am), make sure you start from inside the pocket so you don’t accidentally sew the pocket shut (like I did).
-

- Push your needle through the patch border and draw needle’n’thread all the way through until the anchor stops it. These patches are thick and coated with iron-on glue, so this may be a little harder than you expect. Use something to help push if you need to: a tabletop, a coin, a thimble if you have one—anything that won’t hurt/take damage will do.
-
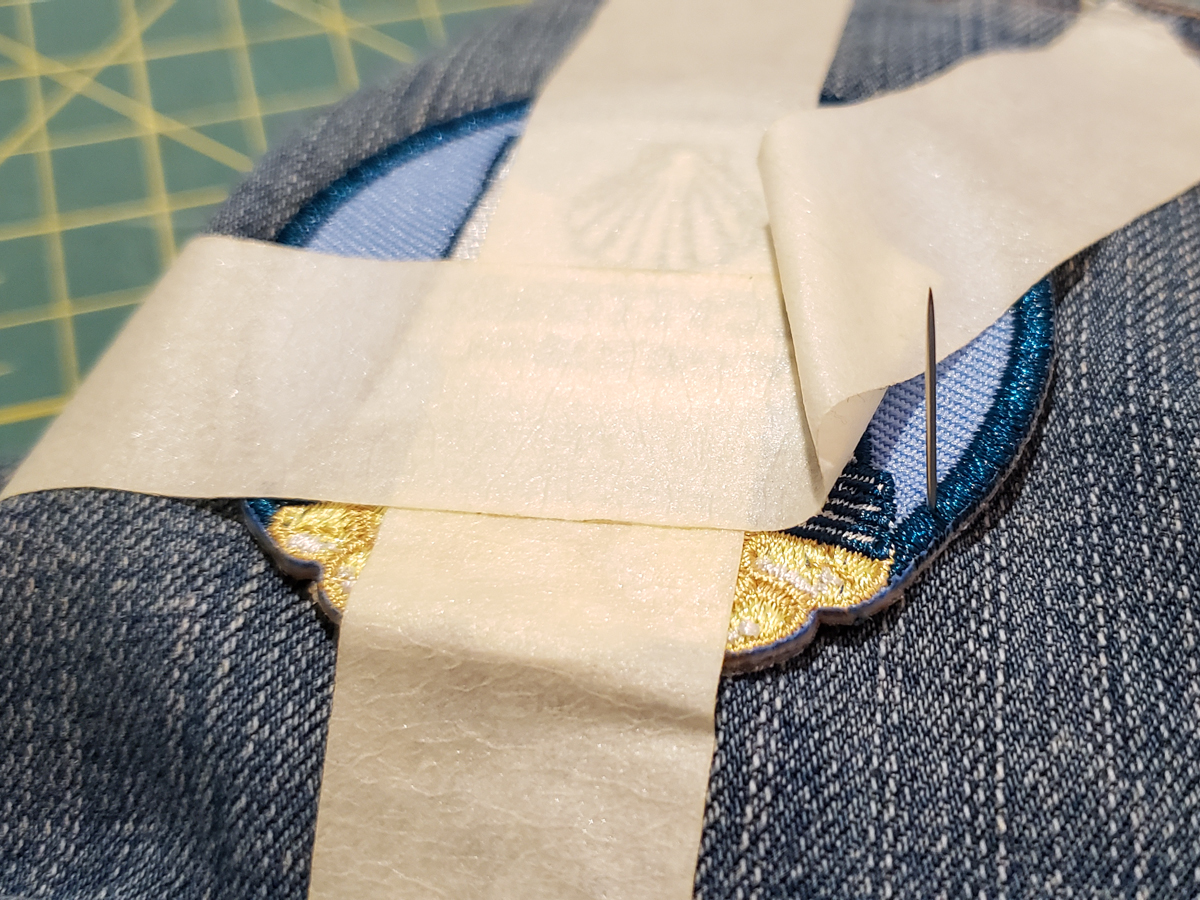
- Insert the needle through the front of the work quite close to where it came out, then repeat the push-and draw-through. How close is quite close? Up to you. Small stitches look neater but take longer. All my hand-sewing starts with small ambitious stitches that lengthen remarkably as I get bored and desperate to be done. Did you notice I moved the tape? Feel free to do that if it’s in the way, or remove it entirely once you’ve you’re sure that patch isn’t going anywhere.

-

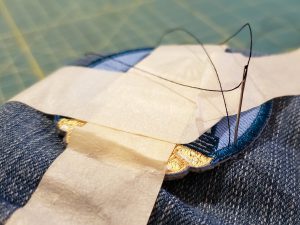
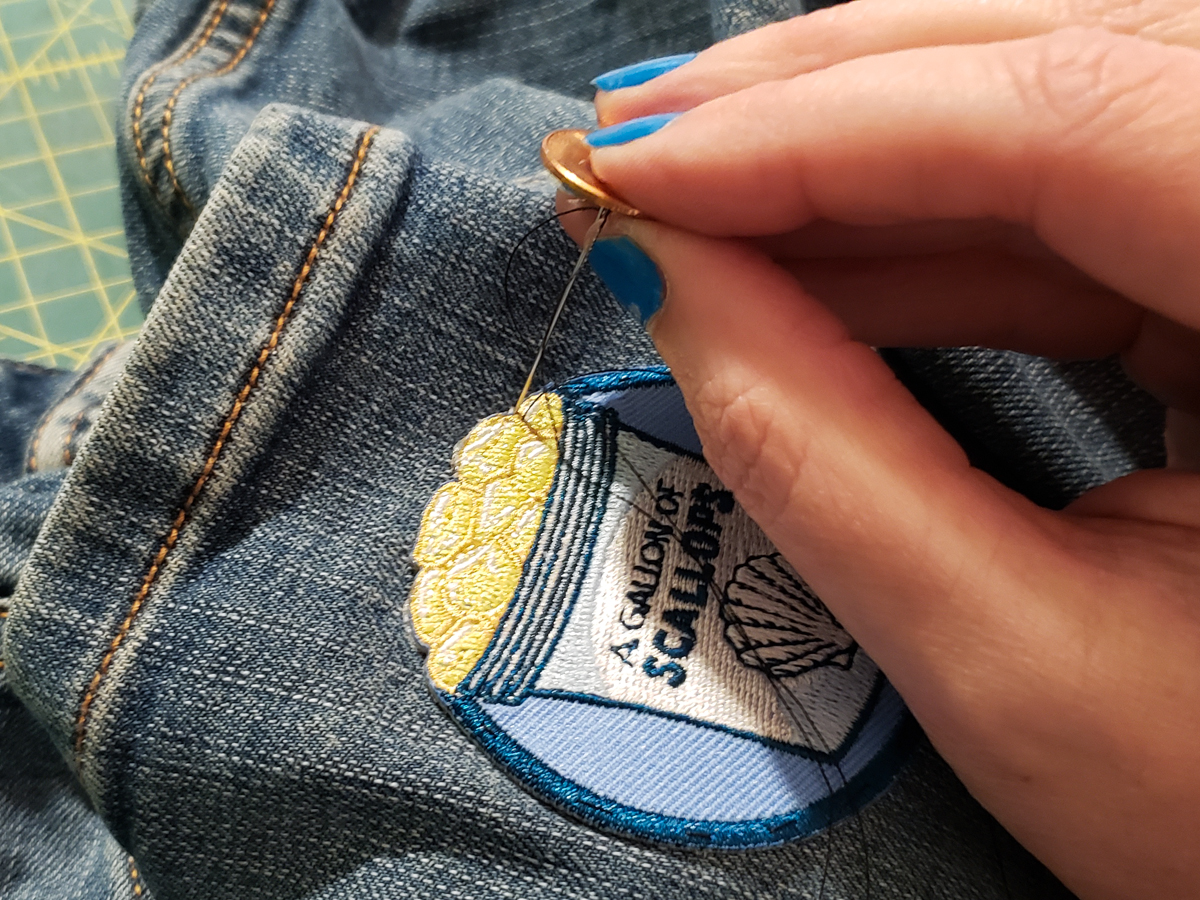
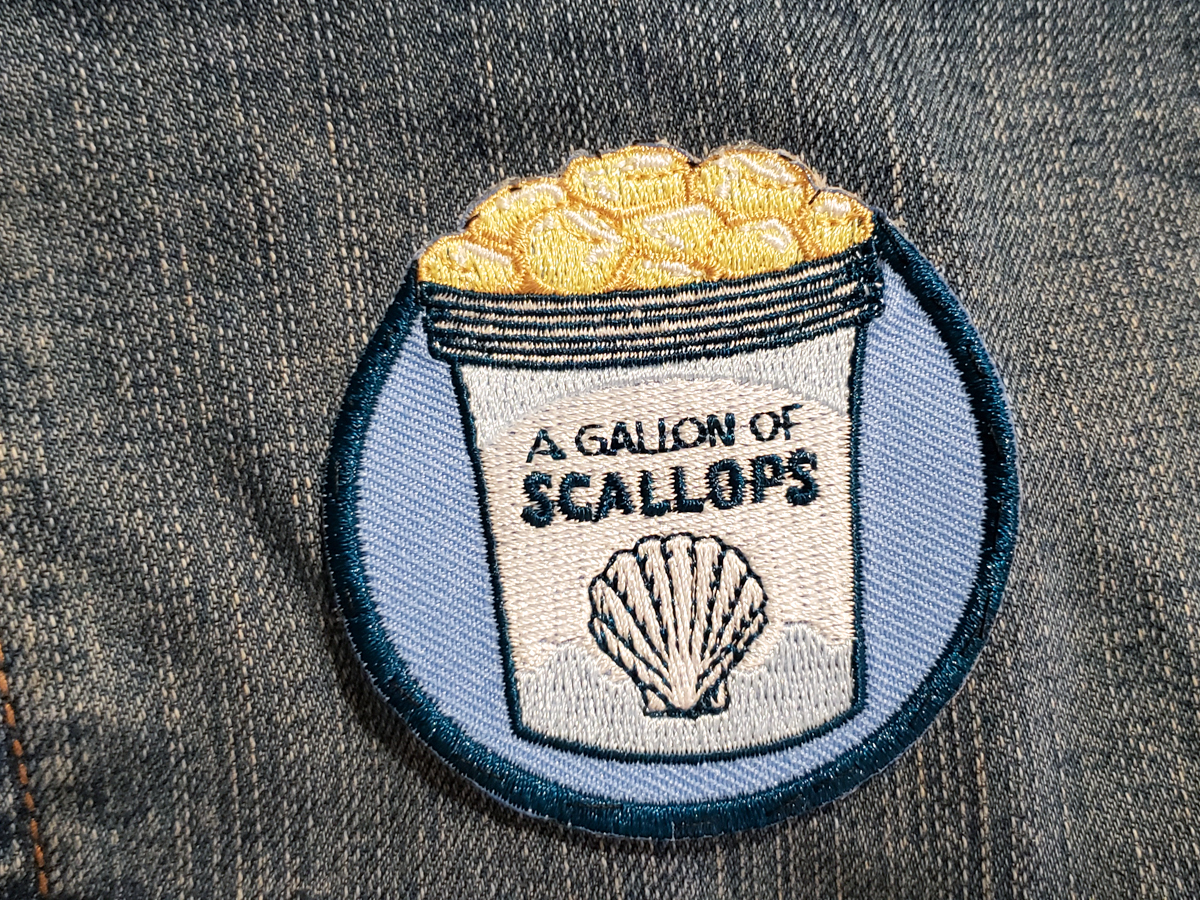
- Repeat these running stitches all the way around the patch border. If you come to a spot where it changes color, you can tie a knot in your thread on the wrong side of the work, load up the needle with a new color, and keep going. But chances are you don’t want to do that, and who can blame you? I kept going with the same color. As you can see, I’ve recruited Honest Abe here to help me get through a particularly burly scallop.
-

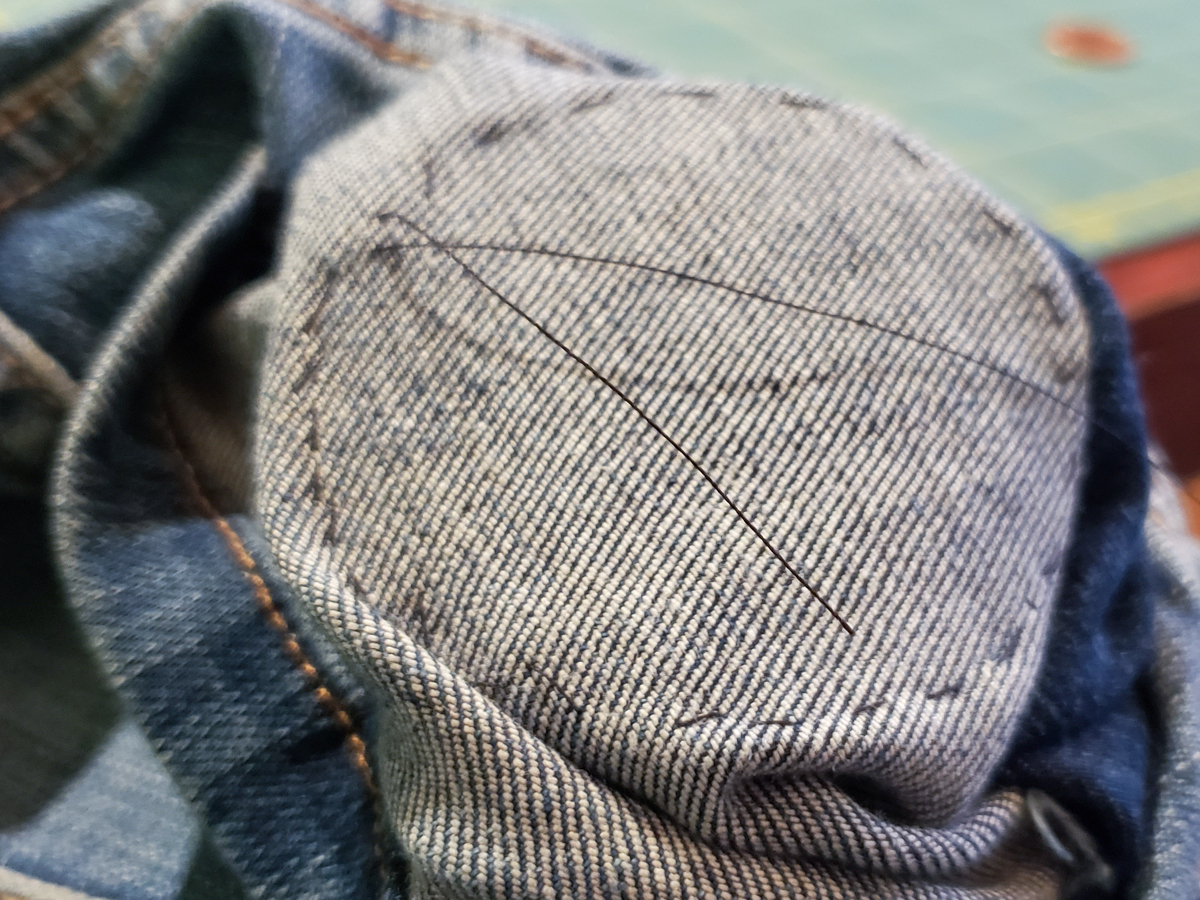
- Once you’ve made it all the way around the patch, finish with your thread on the wrong side. Note that my stitches look absolutely awful here. That’s okay! If anyone looks inside my back pocket and has a problem with it, I will have enough questions for them that we probably won’t even get to their complaint.
-
- Tie a double or triple knot in your loose ends, then trim the excess thread. You’re done!

-

- Even in this extreme close-up, the black thread isn’t terribly obtrusive among the yellow scallops and almost disappears into the blue border. So don’t sweat the details. Go sew that patch! It’s going to look just fine.
[return to the list of tutorials]
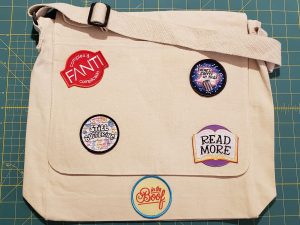
MaxFun Messenger Bag (iron-on, sewing)
This handsome and functional bag is available to everyone who joins or upgrades to the $35 monthly level–and it’s 100% cotton, which makes it a great candidate for iron-on patches. (The actual bag will have the rocket logo embroidered on the flap, but for this tutorial you’re going to have to imagine that bit. I left a nice blank space in the middle for you to imagine in.)
You’ll need:
- A messenger bag
- A thin press cloth (I used a tea towel but a pillowcase works too)
- One or more patches
- An iron and an ironing board
- Pins (optional but helpful to secure the bag to the board)
-
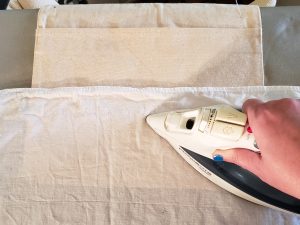
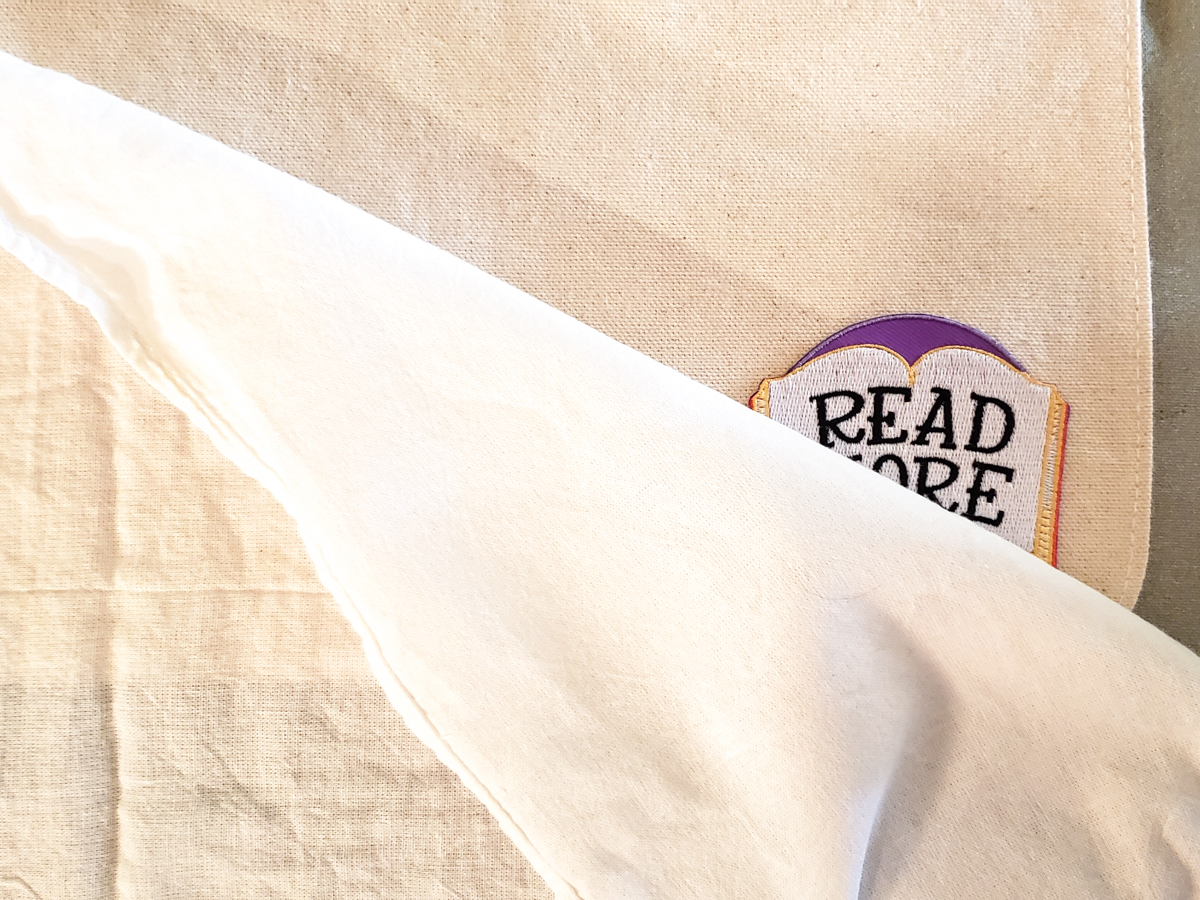
- Preheat your iron to High or Cotton or whatever. You don’t want any water in it, but you want it good and hot. Once you know where you’d like your patch to live, cover that spot with your press cloth and press the iron down firmly for 8-10 seconds to heat the target area before you affix the patch.

-
- Working quickly, place the patch where you want it, cover with the press cloth, and press down firmly with your heated iron for 10-20 seconds. Almost every patch I ironed took 20 seconds and most took a couple of tries. If you discover you’re burning your press cloth (I was), pay extra close attention to your time and move the cloth around between attempts.
-
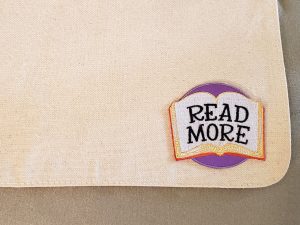
- Check the edges. Is it sticking? You’re done! Let it cool and parade your creation before family and friends, or…
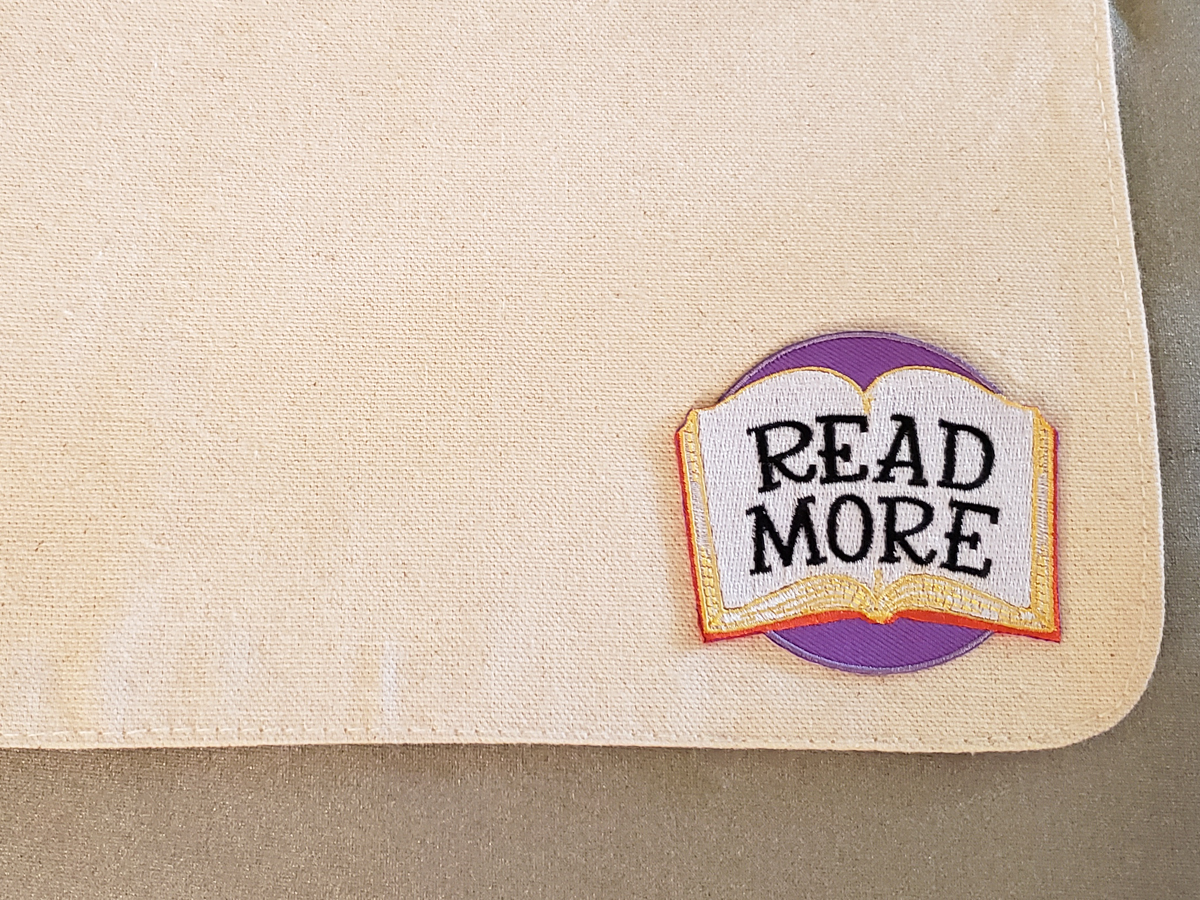
-
- Repeat until you run out of patches!

[return to the list of tutorials]
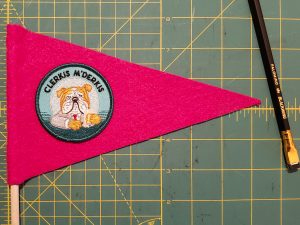
Mini Pennants (glue)
Inspired by Erin Garcia Mañalac’s tutorial at Jenny Lemons, these materials and instructions will give you pennants that are 5″ high and about 8″ long. Feel free to customize to suit yourself–just make sure the pennant will be big enough for your patch before you cut.
You’ll need:
- A patch
- A 9″x12″ sheet of felt
- A 12″ dowel
- Hot glue gun
- Your custom Blackwing 602 from the 2022 MaxFunDrive Creativity Pack or another, lesser pencil
- Some kind of straight edge
- Pins (optional)
-
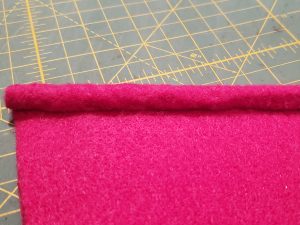
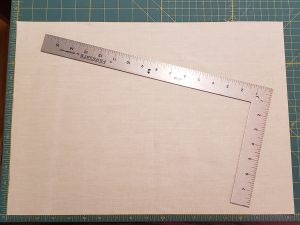
- If your 9″x12″ sheet of felt is anything like my 9″x12″ sheet of felt, it isn’t exactly 9″x12″. Square it up now to avoid upsetting surprises later. You should be able to get at least two pennants out of one sheet of felt, and I’m betting if you’re careful you could manage three.

-
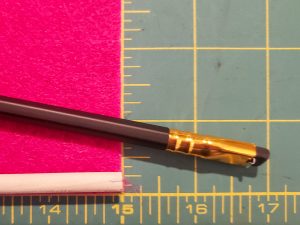
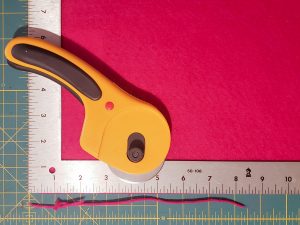
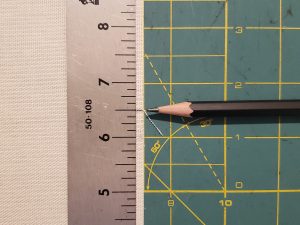
- How thick are your dowels? If they’re 1/4″, mark the right edge of your felt 1″ from the bottom and skip this pic and the next. If not, lay your dowel along the bottom edge of the felt and make a pencil mark in the top dead center as shown.

-
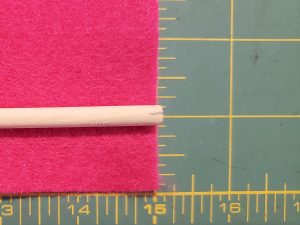
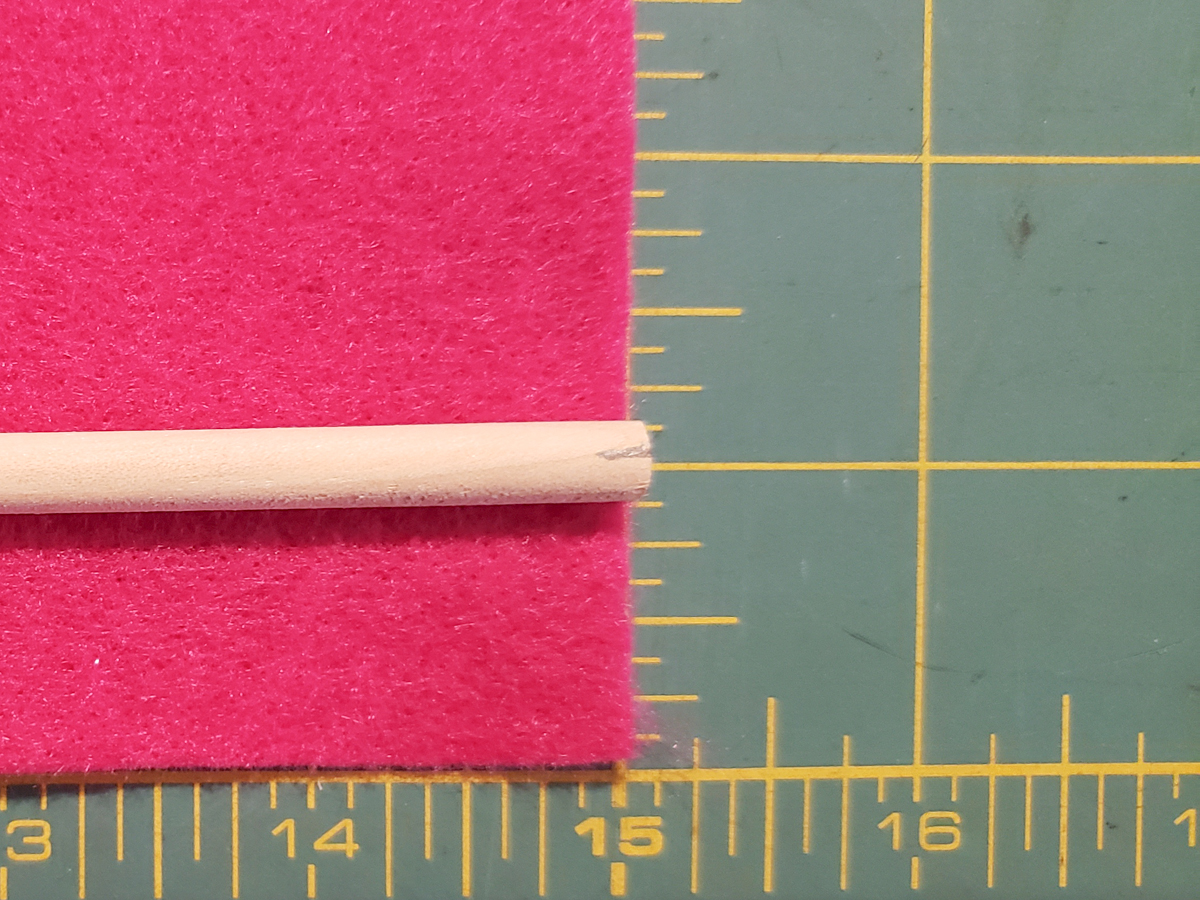
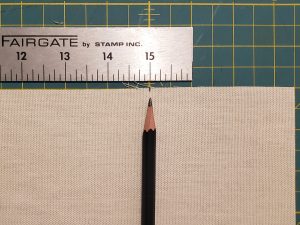
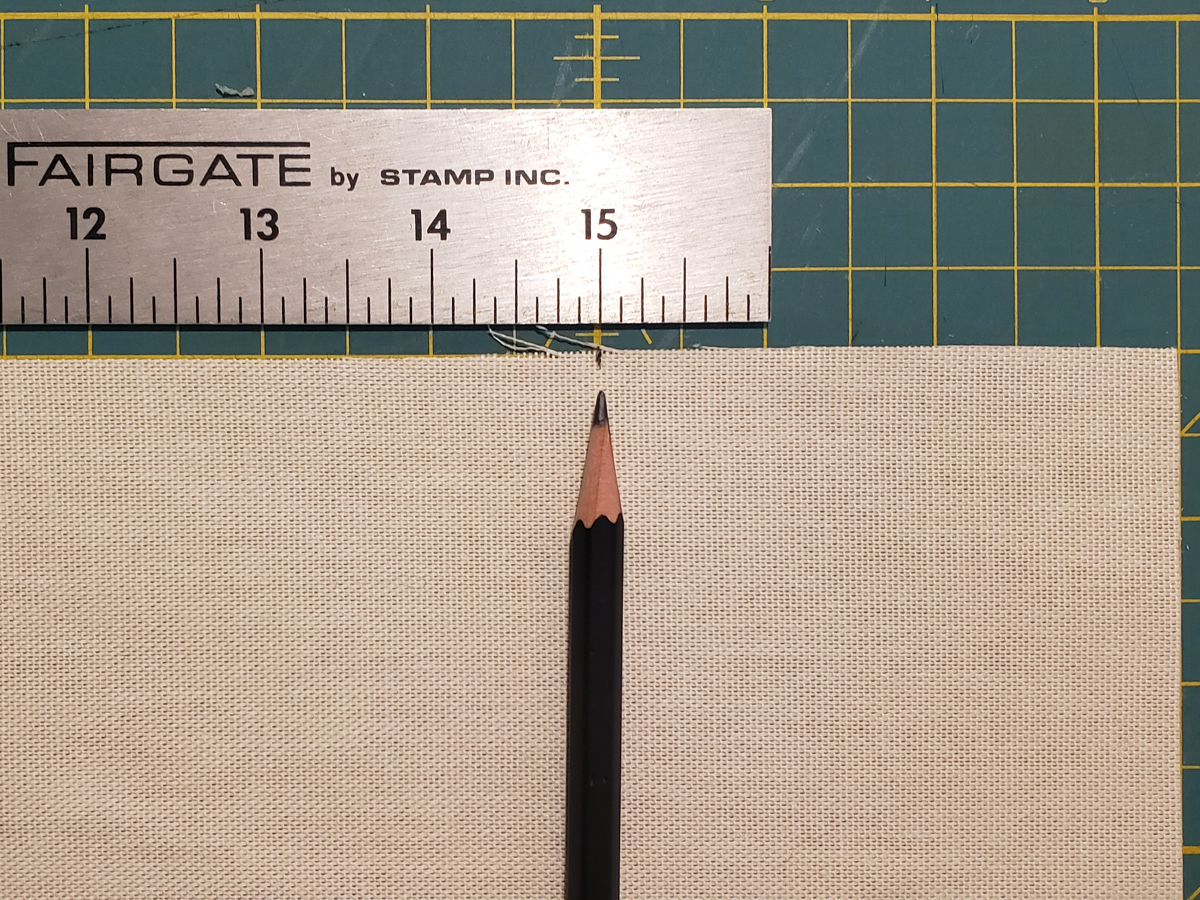
- Roll the dowel up the felt until your pencil mark returns to top dead center. Mark this spot on the right edge.
-
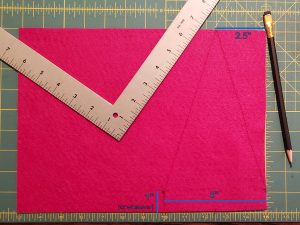
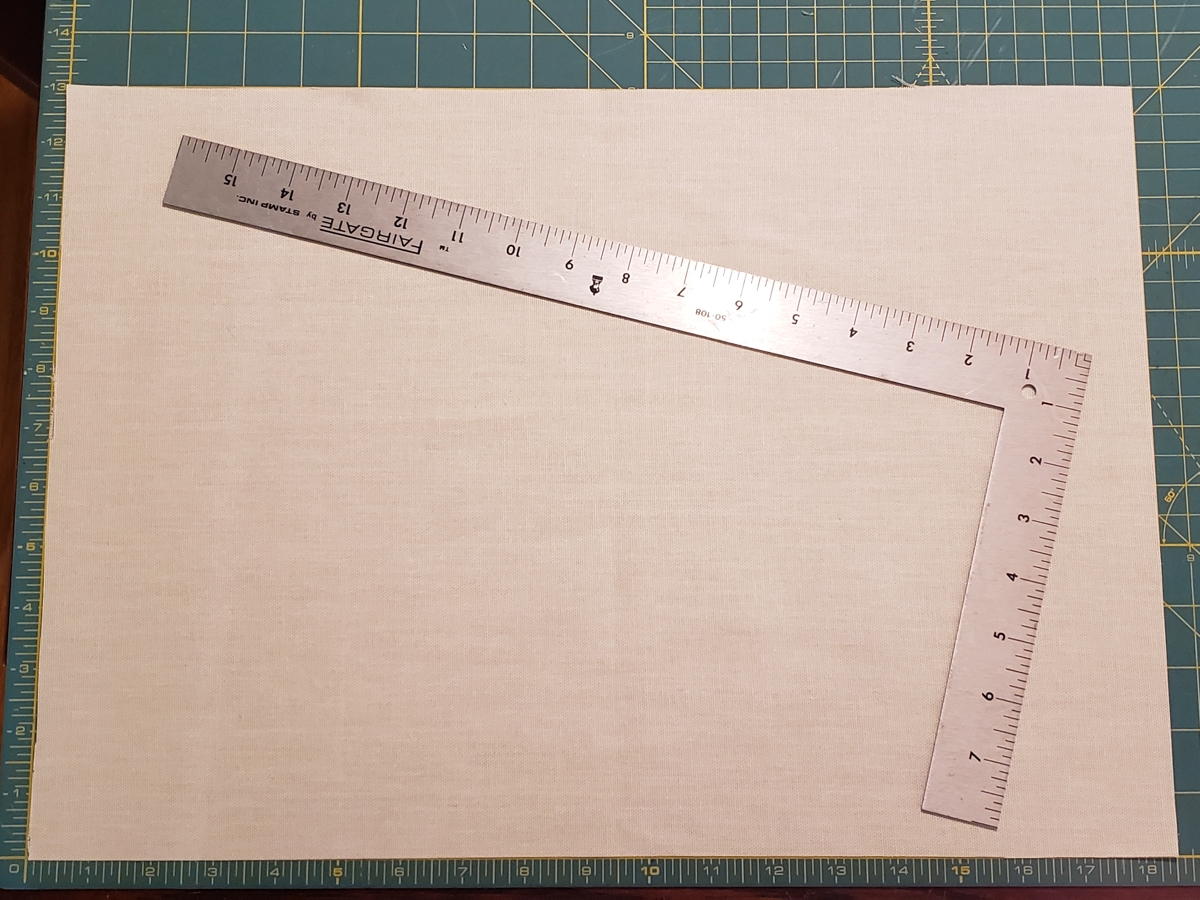
- Make a corresponding mark 5″ straight to the left of the first one. Make another mark 2.5″ from the top right corner. Using your straight edge, draw a vertical line from the bottom of the felt to your left-side pencil mark. Connect that left-side mark to the mark at the top, then do the same from the right-side mark. This is a lot of words to say: make it look like this! (Click the pic for a closer look.)

-
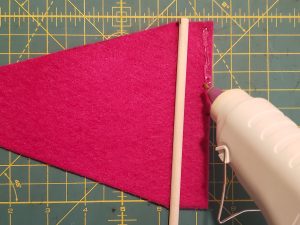
- Cut along all those lines you just drew. Hey, that looks like a pennant! Lay a bead or two of hot glue along the vertical edge, place your dowel in it, and carefully roll the pennant around the dowel, squooshing the glue against the dowel as you roll. Hot glue is hot, so be careful!

-
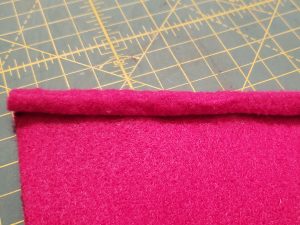
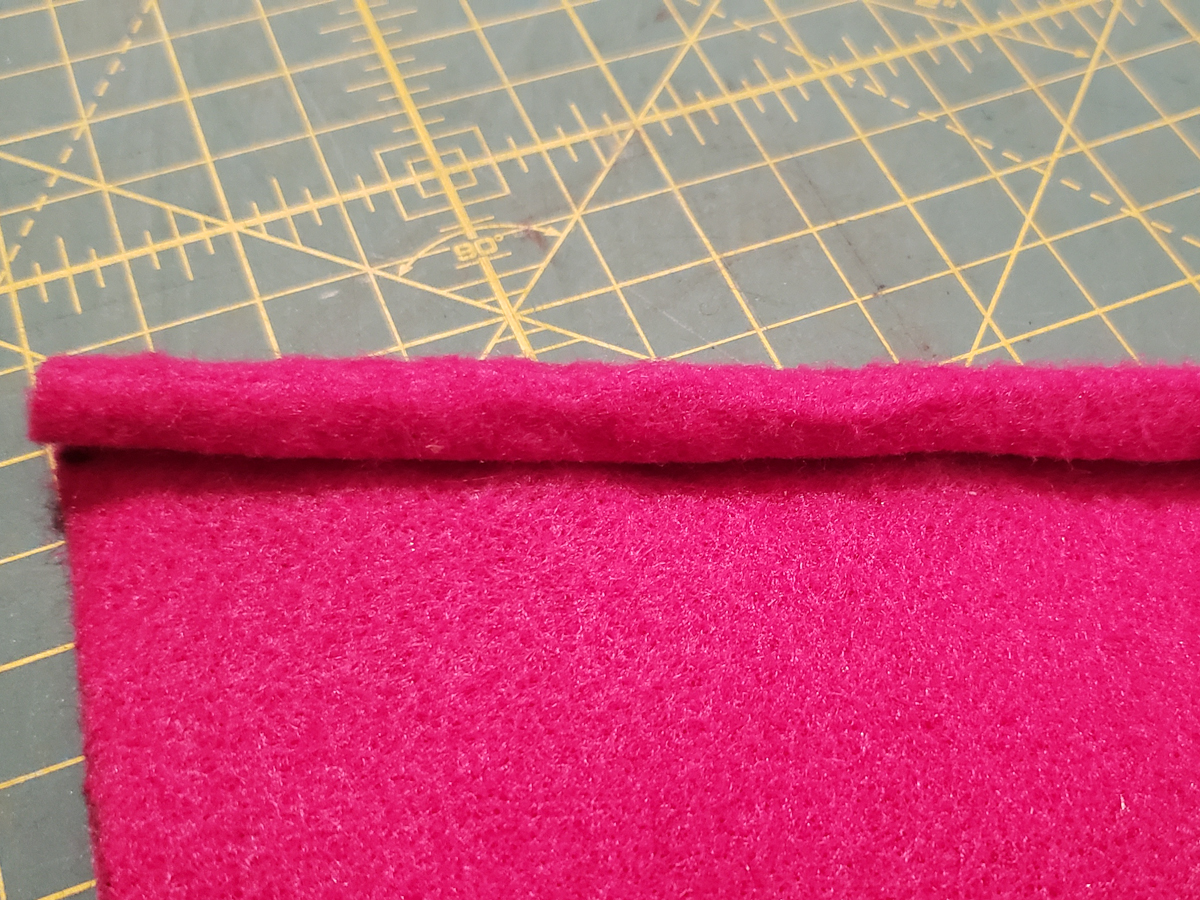
- If your pennant doesn’t quite wrap entirely around the dowel, not one person on this green and living Earth will notice. But if that gap is going to eat away at your soul, you can lay a little extra glue in there and close it up.
-
- This photo is all but identical to the previous one, yet the satisfaction it gives me is deep and real.

-
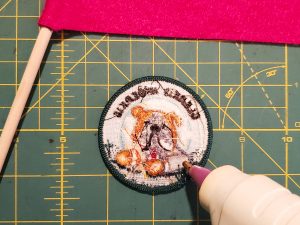
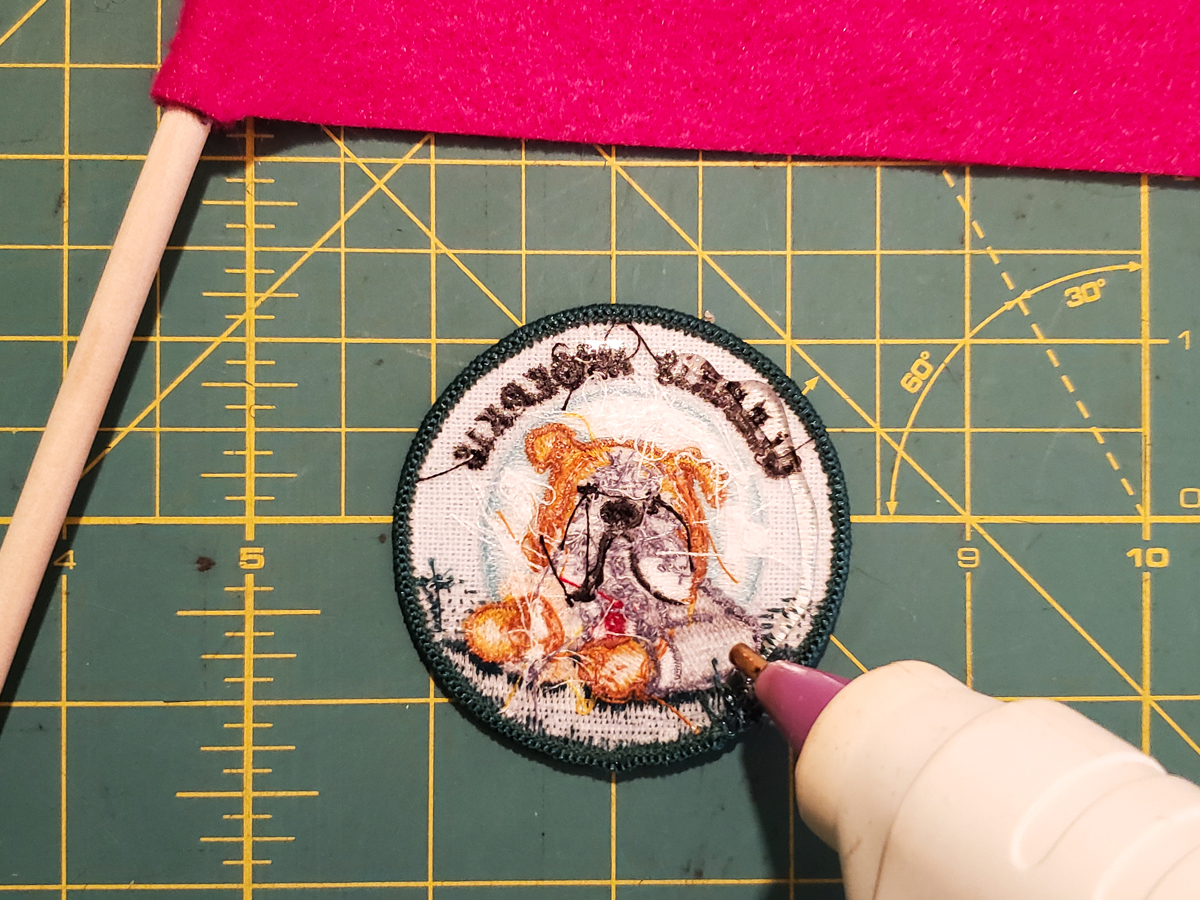
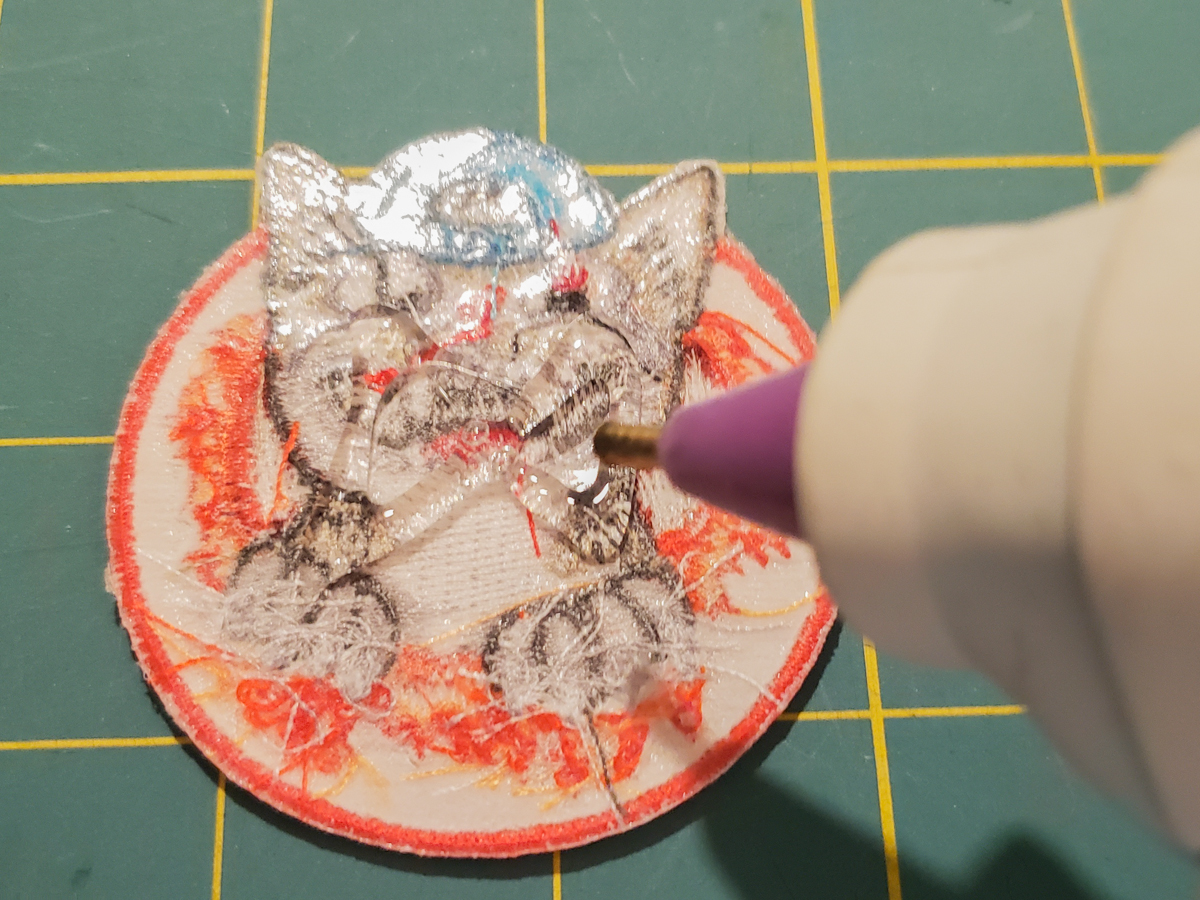
- Working quickly, lay a bead of hot glue around the edge of the patch—but not too close or it might squish out when you place it on your pennant. I like to put a little in the middle too, but there’s no need to get wild with it unless you plan to wave this pennant really, really hard.
-
- If your patch has irregular edges, you can drag some glue in there with a pin to make sure everything gets tacked down. Just be quick! Hot glue sets up in a hurry.

-
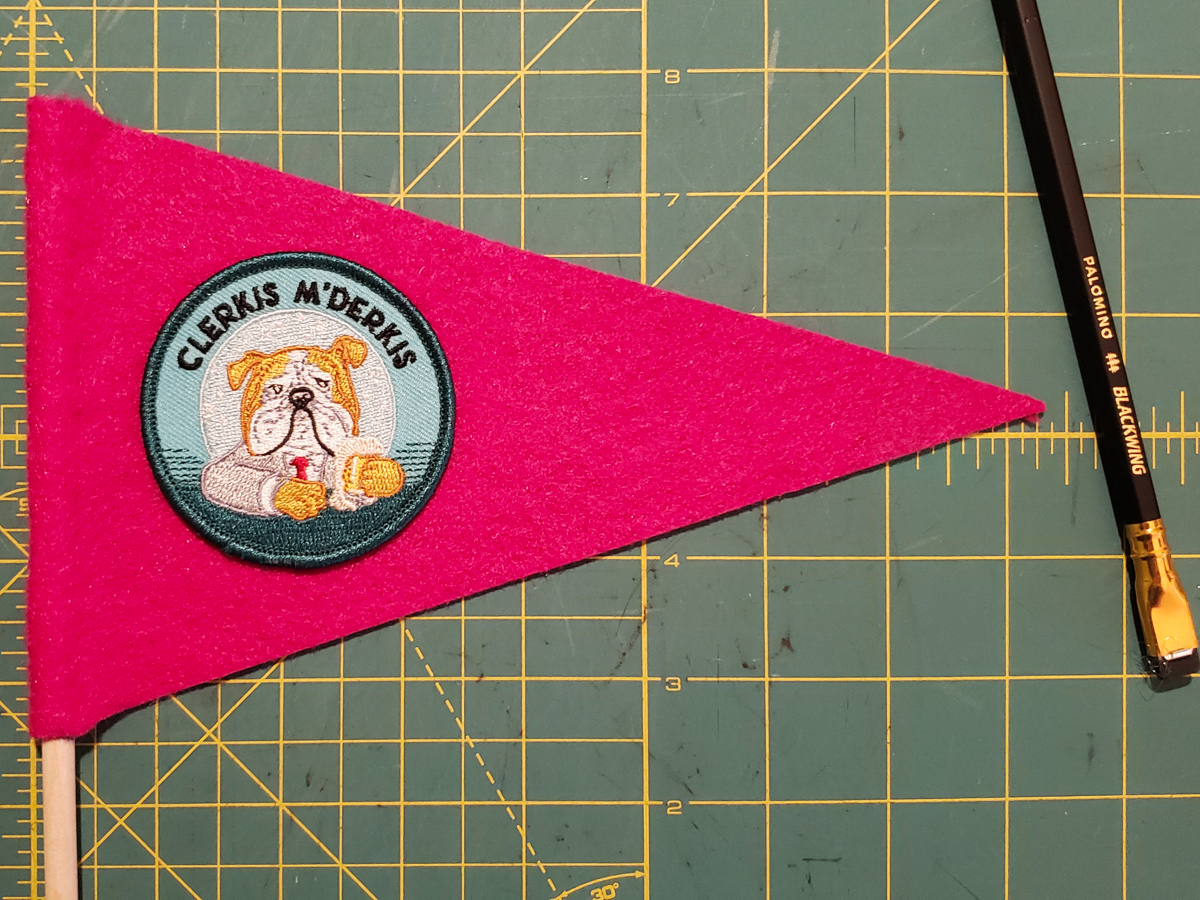
- Place that patch on that pennant and (bearing in mind always that hot glue is hot) press it down evenly. Give it a little time to dry and you’re in business.
-
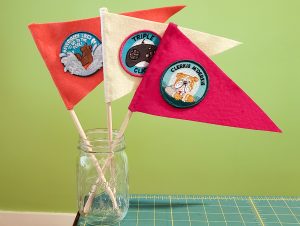
- Let your MaxFun mini-flag fly!

[return to the list of tutorials]
Hat (glue)
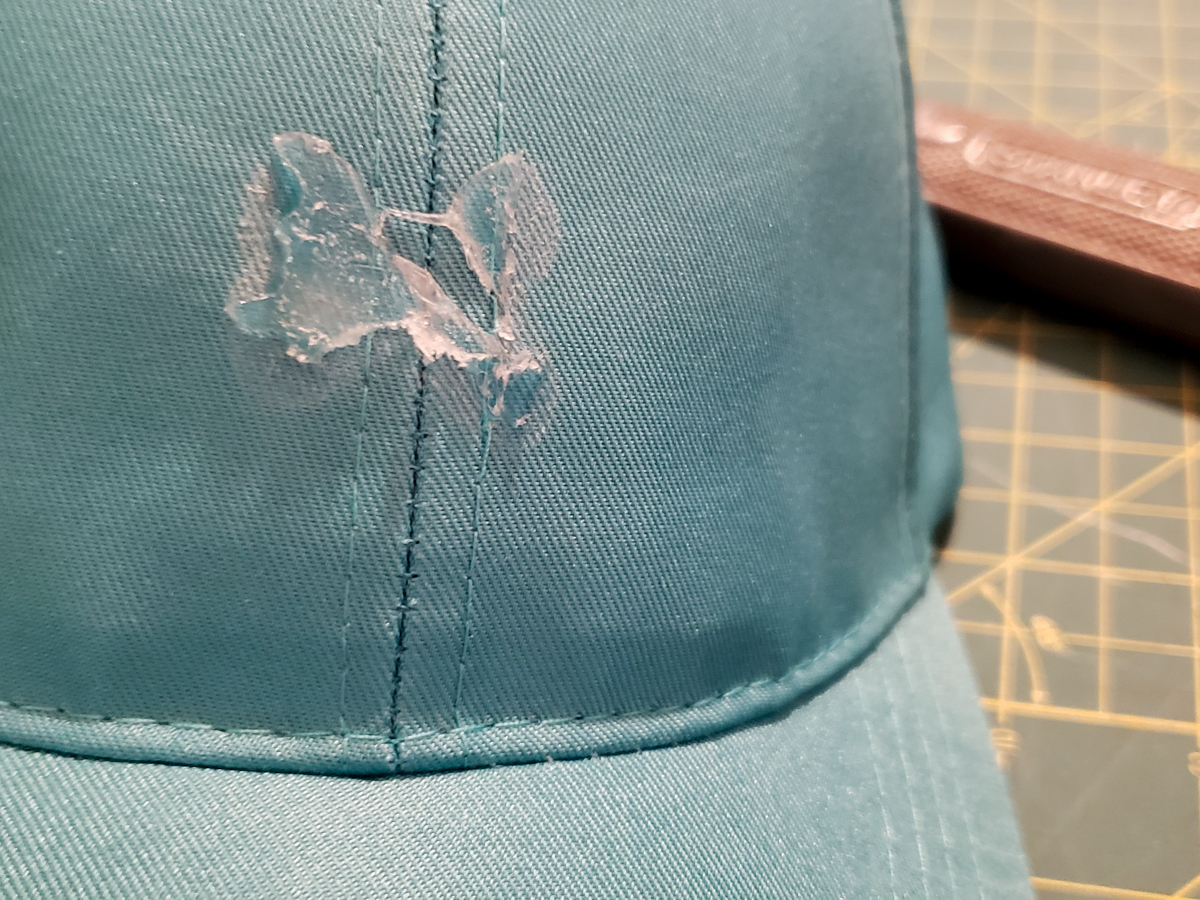
Here’s an example of choosing your method according to the materials. If I had a nice floppy hat made of mostly natural fiber–say, a cotton bucket hat–I’d iron a patch on that sucker in an instant. That… is not what I have. I have a polyester cap I picked up at the craft store for $2.99 and it is a weird and not very flexible shape. I’m not going to get good contact with my iron–and even if I did, there’s a chance I might melt the poor thing. Hot glue it is!
You’ll need:
- A hat
- A patch
- Hot glue gun
- Big towel
- Little towel
- Pins and/or sharp scissors (optional)
-

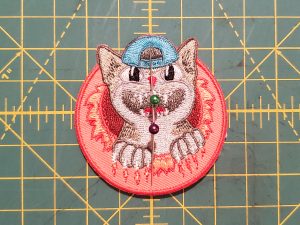
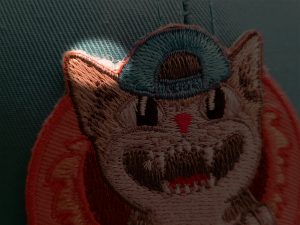
- Flip the patch so that the iron-on side is facing up. Put just a little glue in the center and place the patch on your hat to make sure it’s exactly where you want it. If it is, you can skip the next three pics. Otherwise…
-

- Remove the patch and wait until the glue is cool enough to handle before picking it off for another go. Pins, fingernails, and patience all help here. (The utility knife wasn’t much use, but it looks cool in the background.) Don’t sweat it if you don’t get every bit here. Good enough is good enough.
-
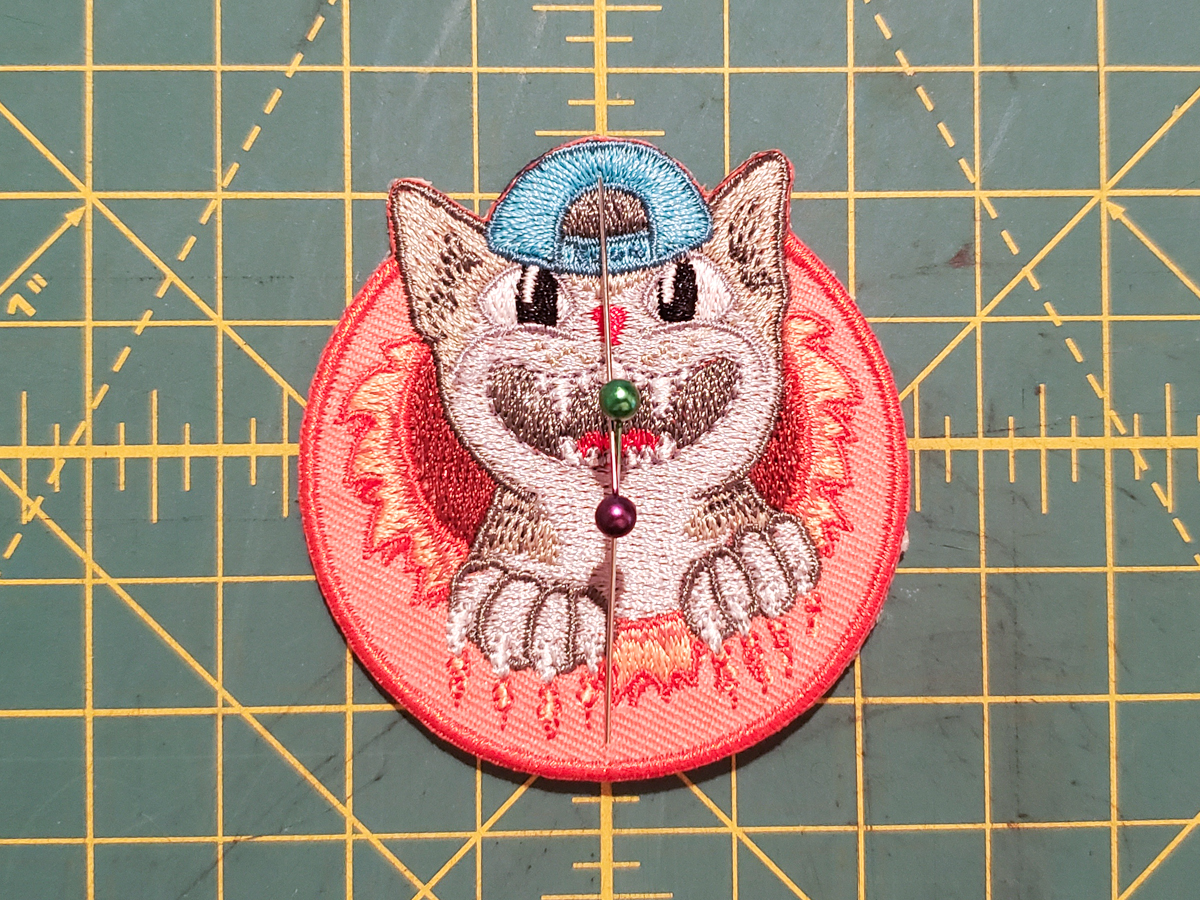
- It might help to mark the midline of the patch with a pin or two. You could even do this on the first try if you are cleverer than me.
-
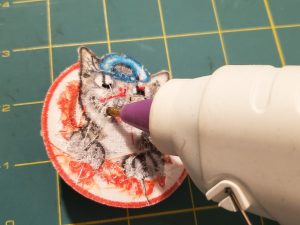
- Pop another splotch of glue in the center and place! That! Patch!

-

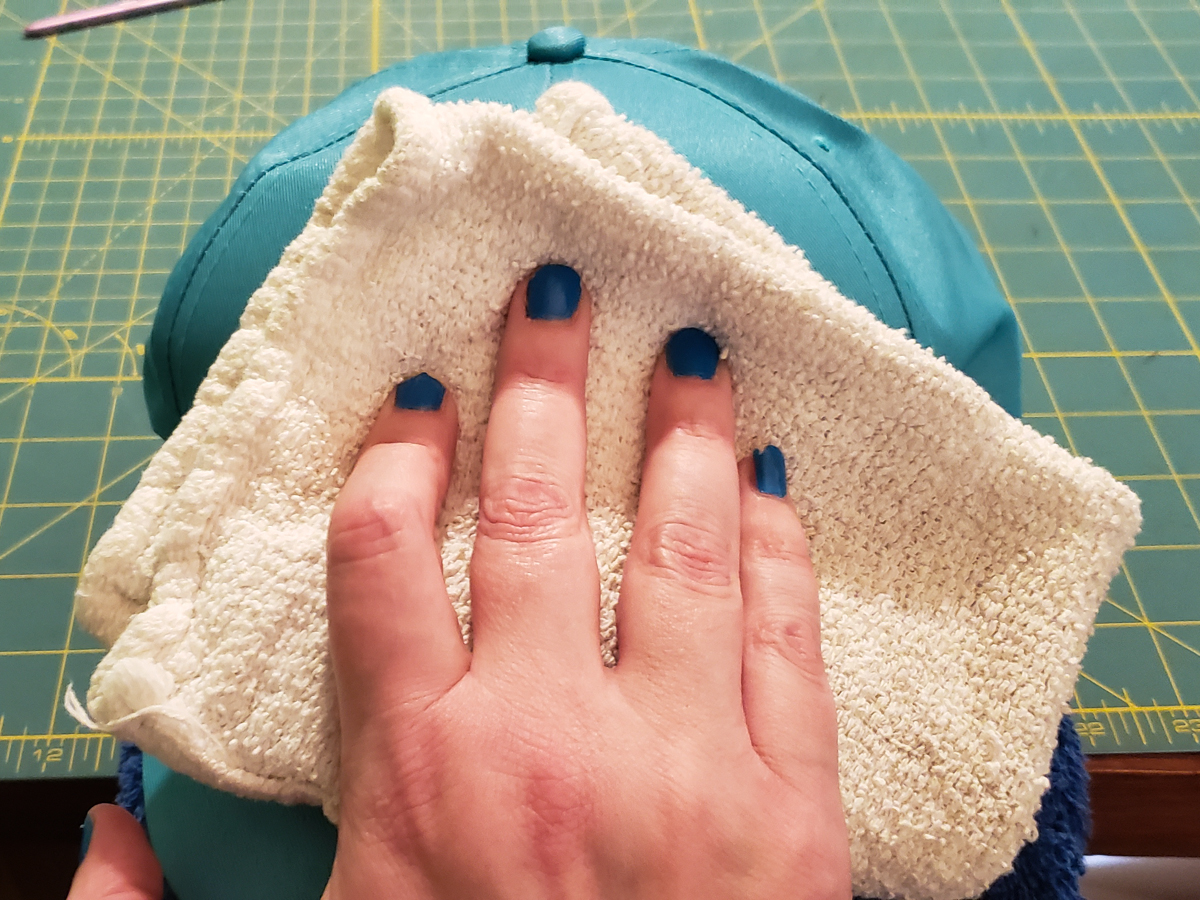
- Stuff the big towel into the hat and use the little towel to apply pressure to your patch. This ensures even contact and protects your hands from hot glue.
-

- The edges will be unsecured, so you’ll have to get in there with the glue gun to fill ’em in and use your towel rig again to press ’em down. Yes, you could have glued all the way to the edges in the first place, but if you suspect you might biff the placement (which I did, and I was right), that’s a lot more glue to pick off. How dangerously do you like to live? It’s your call.

-
- If you use too much glue or place it too close to the edges, some might bubble out. If you don’t want to leave it, let it cool off a little and try pushing it under or picking it away with a pin.

-
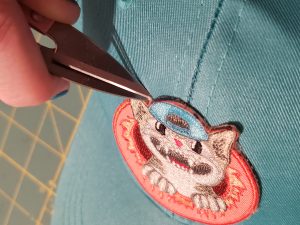
- If you have sharp scissors, you might be able to snip it off. Be careful not to nick your hat!

-
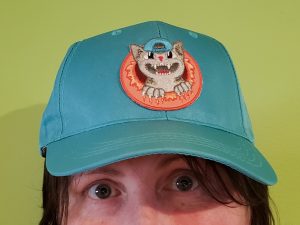
- Once it’s cool, place it on a willing head and enjoy a fashion statement that’s truly one-of-a-kind.

[return to the list of tutorials]
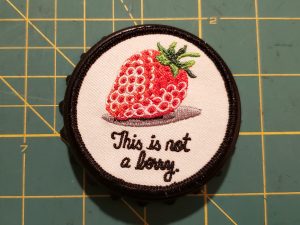
Magnet (glue)
You can always order fresh magnets online if you need some. But first, have a look at your fridge! You just might have a weird ugly magnet someone probably got for free a double-digit number of years ago that you’ve never bothered to throw away. Weird Ugly Magnet, today you will be reborn.
You’ll need:
- A weird ugly magnet
- A patch
- Hot glue gun
- Rubbing alcohol
- Rag or small towel
-
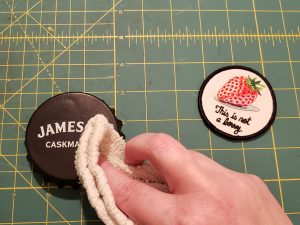
- How long has this thing been in your kitchen? There could be any amount of built-up old yuck on it. Wipe it down with some rubbing alcohol to prepare the surface for gluing.

-
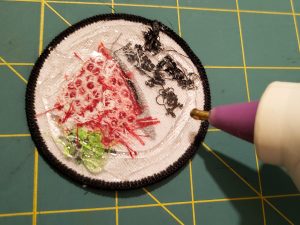
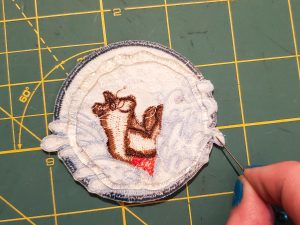
- Flip your patch so it’s iron-on side up and run a bead of hot glue close (but not too close) to the border.
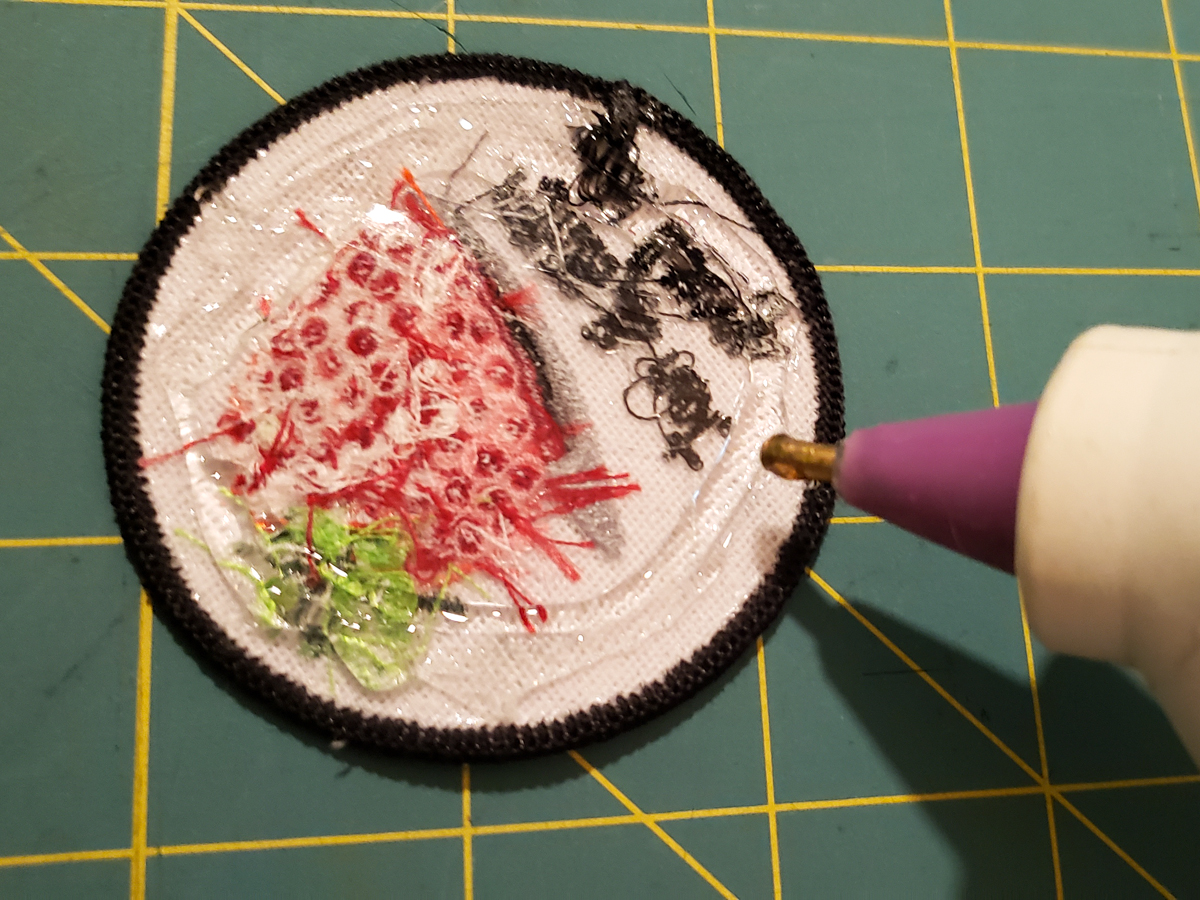
-

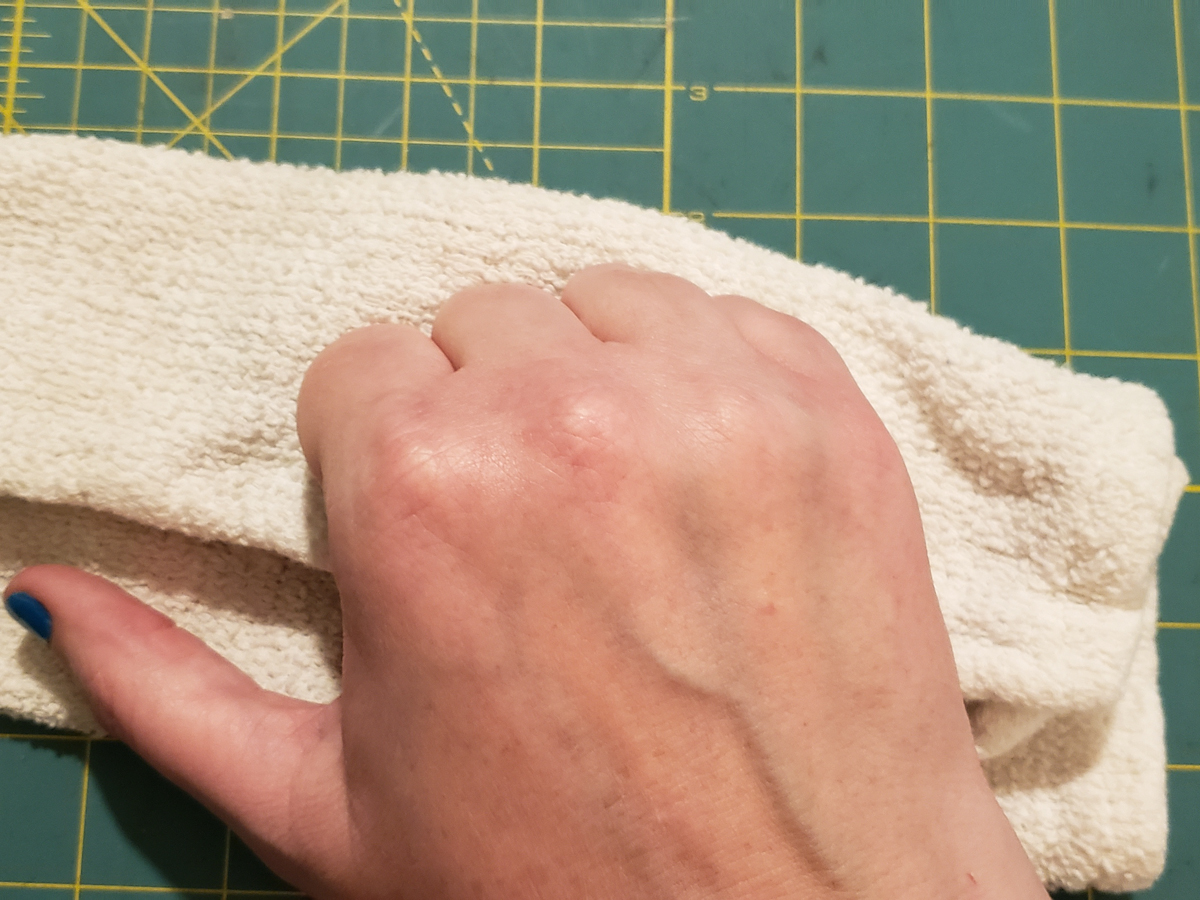
- Place the patch on the magnet and apply even pressure. Use a rag or small towel to protect your tender skin from hot glue incursion.
-
- Let it cool. You’re done!
-
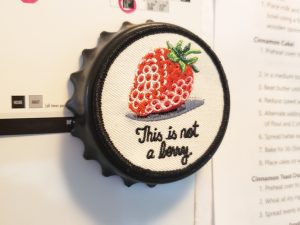
- Like the majestic monarch butterfly, your weird ugly magnet has metamorphosed into something sublime. This isn’t just a craft project. This is destiny.

[return to the list of tutorials]
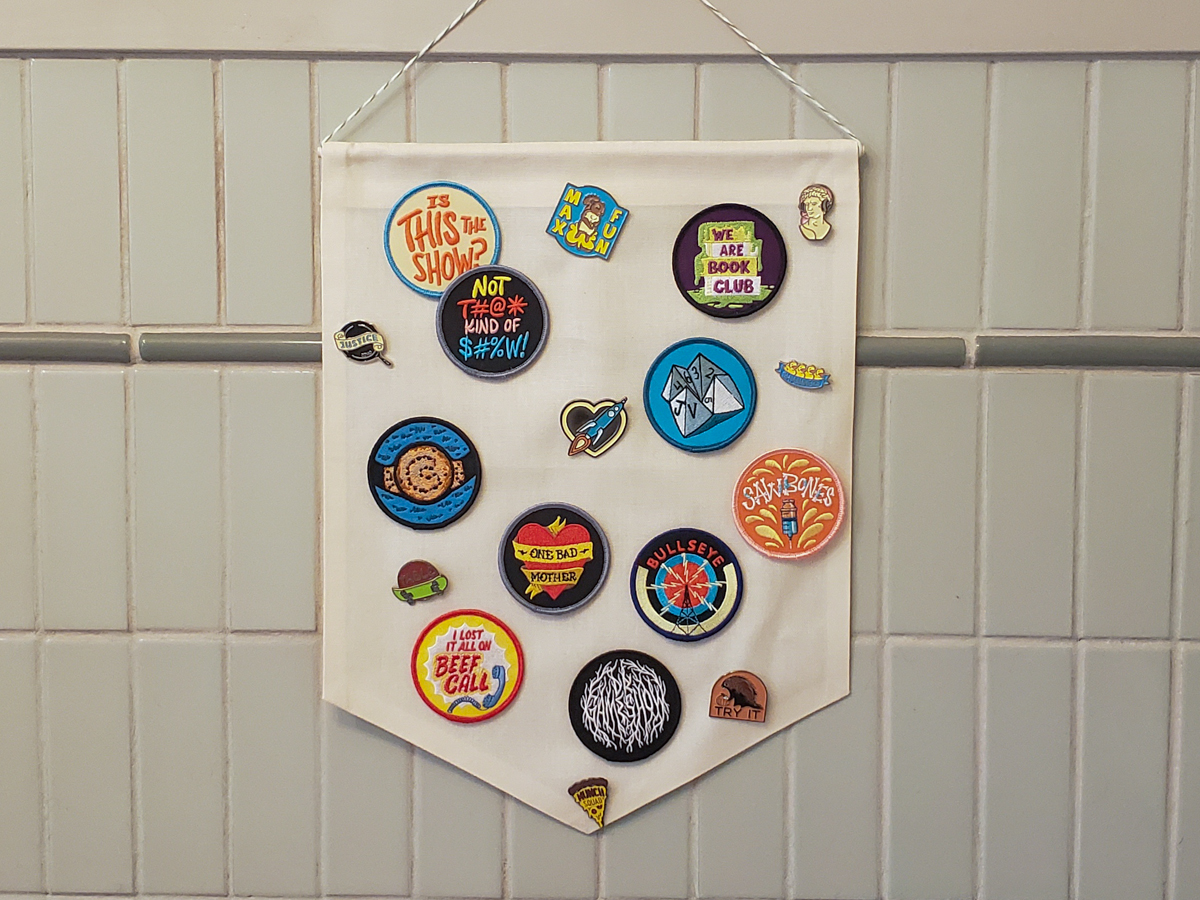
No-Sew Wall Hanging (various)
This is where we put it all together. You’re going to measure things! And cut things! You’re going to iron! There will be hot glue! There might even be… sewing. (But only if you want to.)
This is what you’ve been training for. This is for all the marbles.
You’ll need:
- A piece of woven fabric about 18″x22″
- Fusible bonding tape/web (I used Lite EZ-Steam II), 1/2″ wide
- A 12″ dowel
- Ironing board and an iron
- A press cloth
- Sharp scissors or rotary cutter with mat
- A pencil
- Some kind of straight edge and something to measure with (a big ruler does both but you can improvise)
- Yarn or twine
- Hot glue (optional)
-
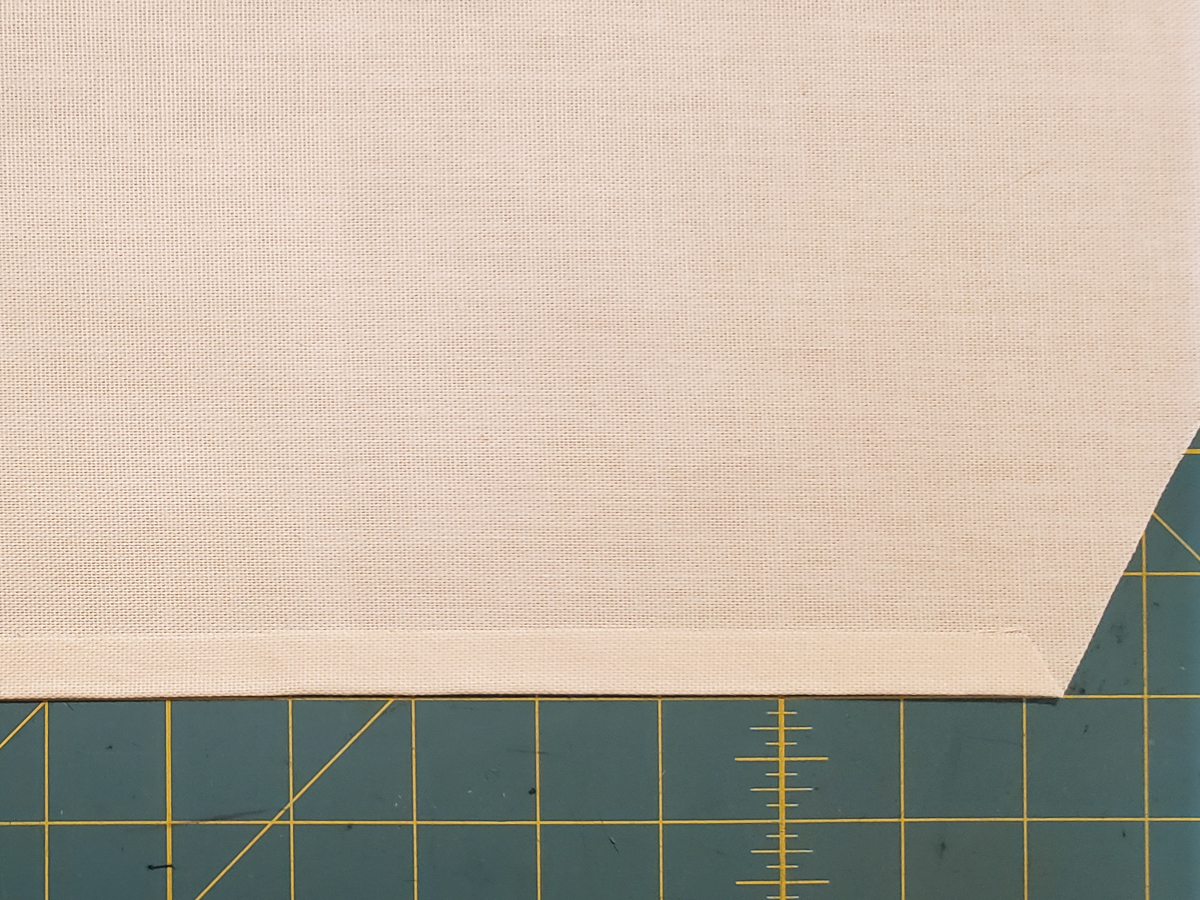
- Cut your fabric into a 13″x18.5″ rectangle. Any woven fabric will do, but pick something not too lightweight if you have a choice. The craft or sewing store should have precut 18″x22″ pieces (aka fat quarters) that will be the perfect size for this.
-
- Mark the halfway point on the right short side edge of your fabric—6.5″ from one of the long sides. Note that this point is also 6.5″ from the other long side. Marvel at the wonder that is math.

-
- Mark a point on one long side 15″ from the left edge. Make a corresponding mark on the other long side.
-

- Using your straight edge, draw a line from one long-side mark to the one on the center right, then cut along it. Repeat for the other long-side mark.

-
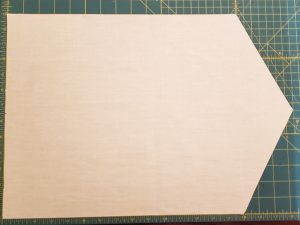
- Does it look like this? Perfect. Time to break out the fusible tape. This stuff is great for sticking fabrics together without sewing, or for holding tricky fabrics in place before you sew.

-

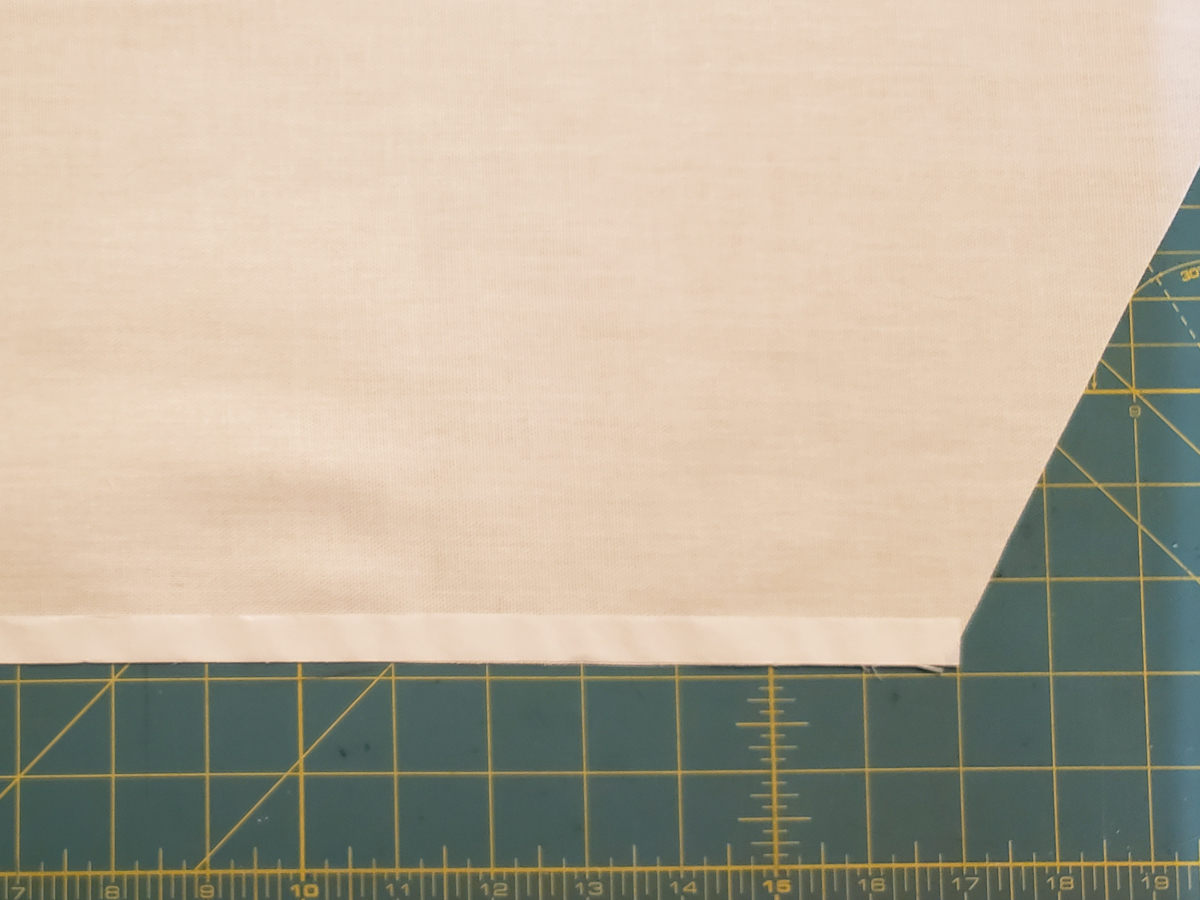
- Lay a strip of fusible tape all the way along one long-side edge of your work. The one I’m using is slightly sticky, which makes it easier to handle. You can trim off any bits that overhang the fabric.
-
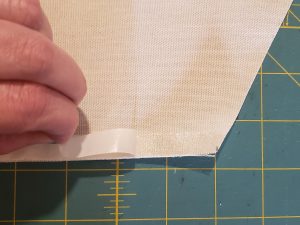
- Peel off the backing to expose the other sticky side, assuming you got the sticky kind. Or follow the directions on whatever kind you got. It’ll all be okay either way.

-
- Fold the taped edge up 1/2″ and hand-press it nice and flat.
-
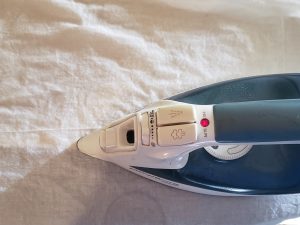
- Cover the work with a damp press cloth and with your iron set to High/Cotton, press down firmly on the folded bit for 10-20 seconds. Use steam if you’ve got it.

-
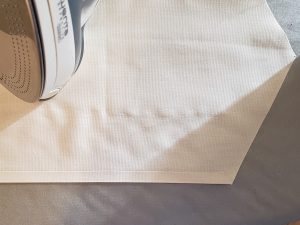
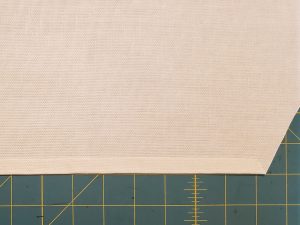
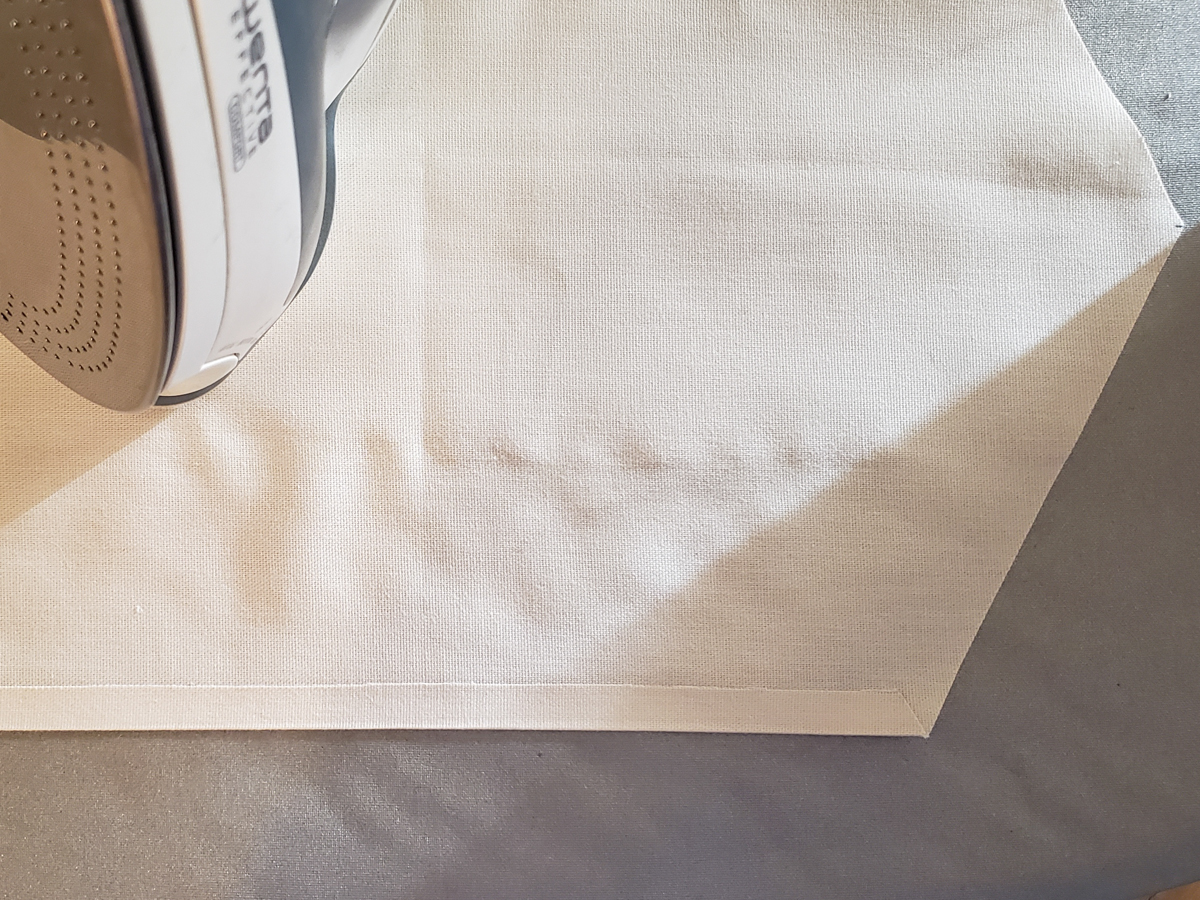
- One long side down! Repeat for the other long side. Do this same taping, folding, and ironing on the two sides of the pointy bit as well. The only seam left unfinished should be the short straight side that will become the top of the wall hanging.
-
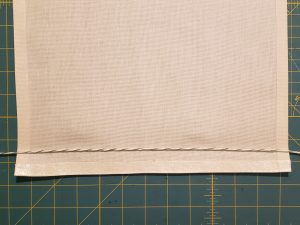
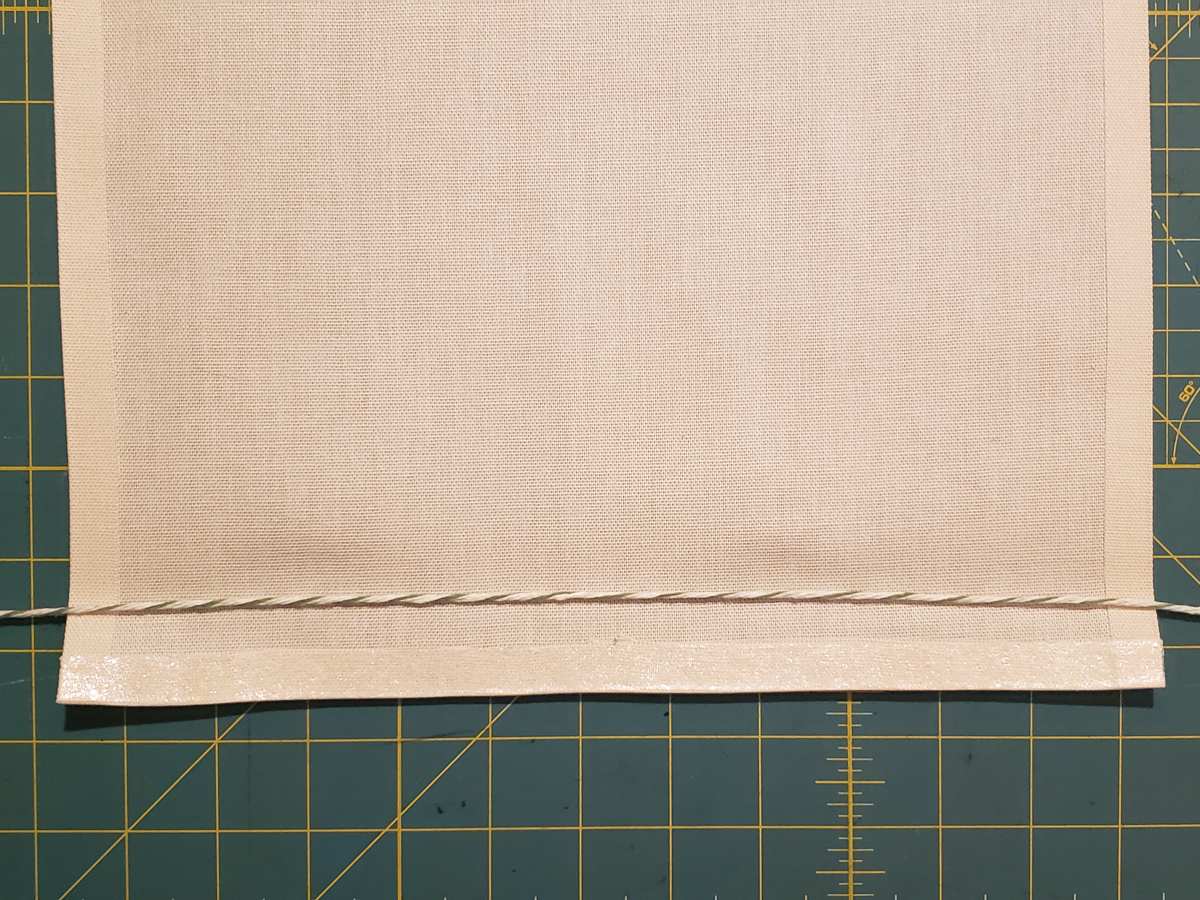
- Prepare the top side with your tape as before. I tried to be cool and lay the yarn into the pocket here, which turned out to be kind of pointless in the end so feel free to skip that part.
-
- This time you’ll fold the edge 1.5″ down to make a pocket for your dowel. Hand-press and iron it closed, a process you are now an expert at.

-
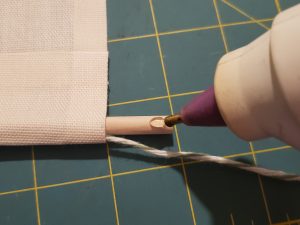
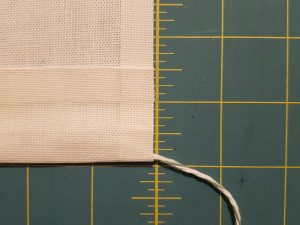
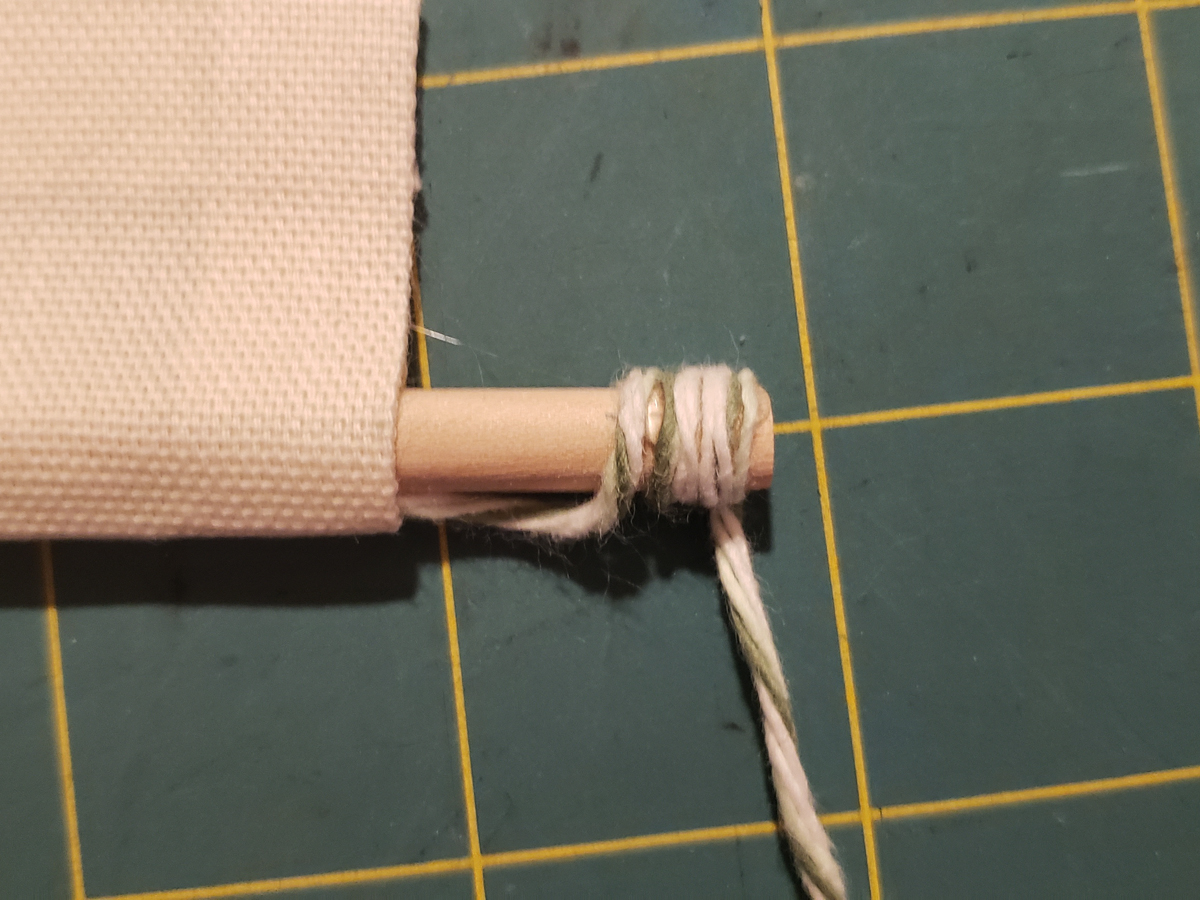
- Once it’s cool, you can insert the dowel into the pocket. Cut 2′-3′ of yarn and tie each end to the ends of the dowel. Or you can dab a little hot glue on there…
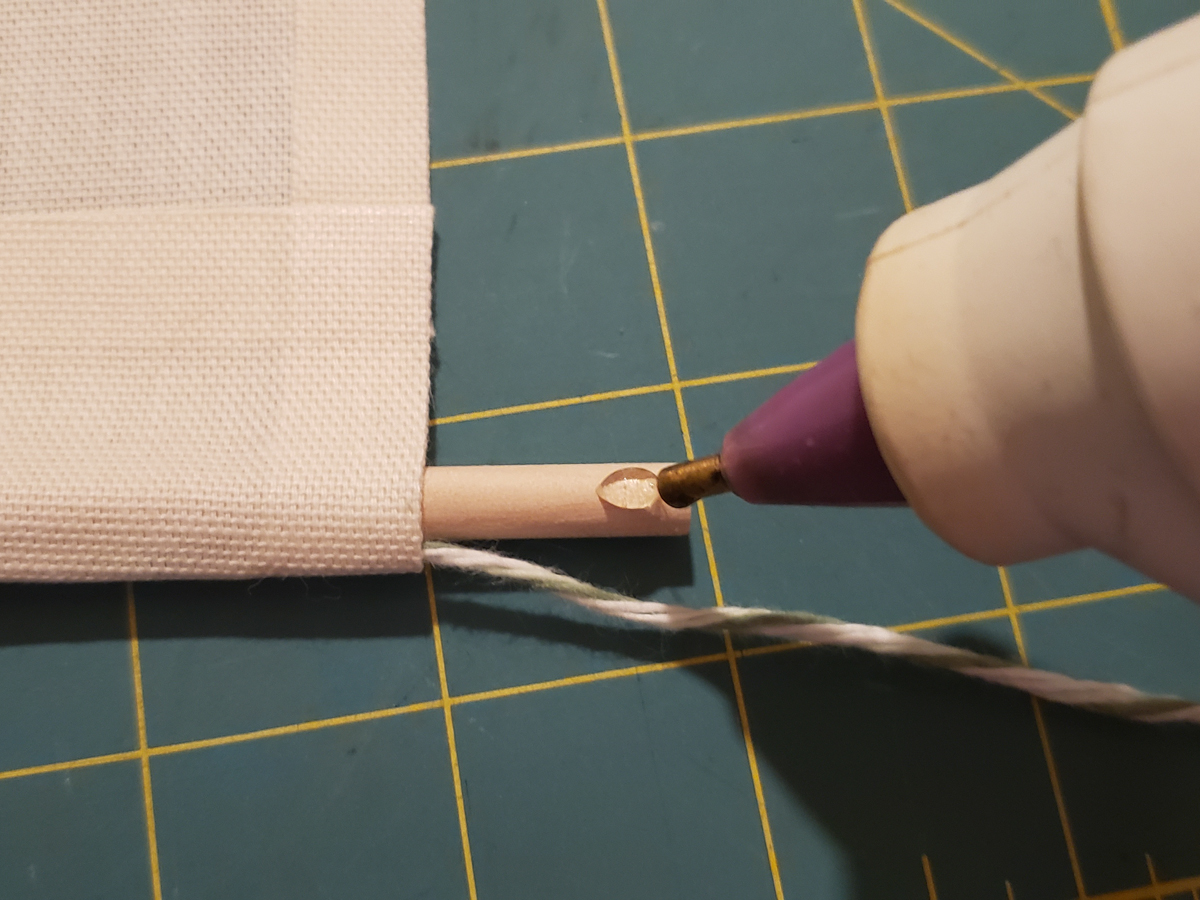
-

- …and wrap the yarn around a couple of times. It’s cute and it’s easier than knotting. You can also use a longer dowel here or make the wall hanging a little narrower. I made mine the exact width of the dowel, which in hindsight was probably silly, if only because no one can see my adorably wrapped yarn.
-
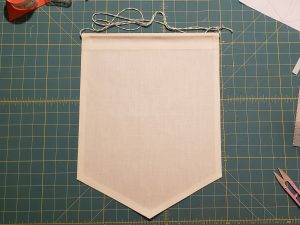
- Give the whole thing one last press to make it nice and crisp. Look what you did! It looks great!
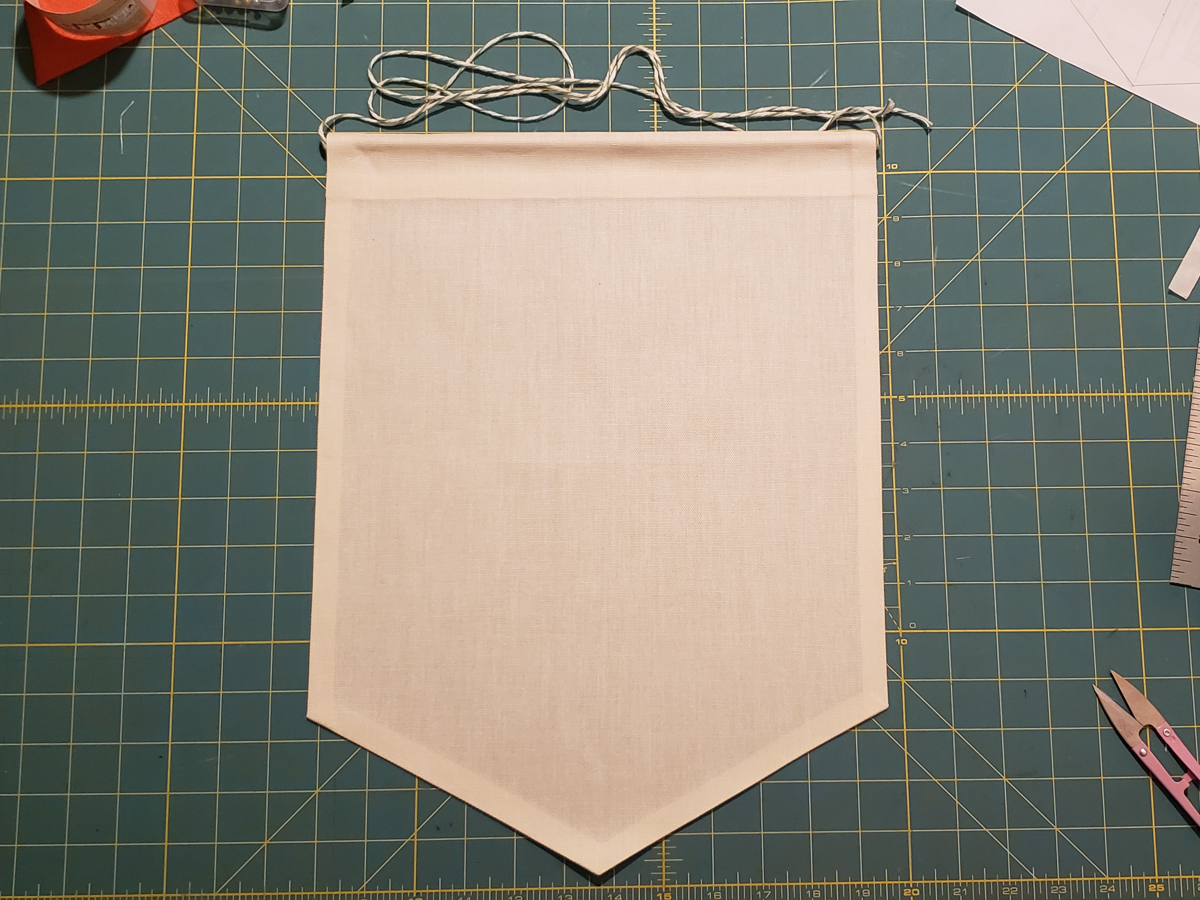
-
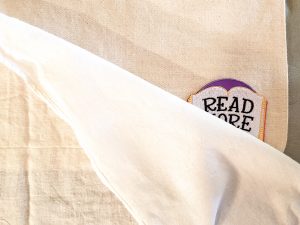
- Tie that yarn to your preferred length and get some patches on there! Iron-on or sew for permanent decoration, or use pins or tape if you’d like to reuse the patch someday (I used orthodontic wax here, but that might mark your fabric over time.) Bonus: This wall hanging is also a great place for pins!
[return to the list of tutorials]
If you have any questions about these tutorials or you just want to show off your creations, hit up my Twitter (@ktwiegman). I can’t wait to see what you make.